
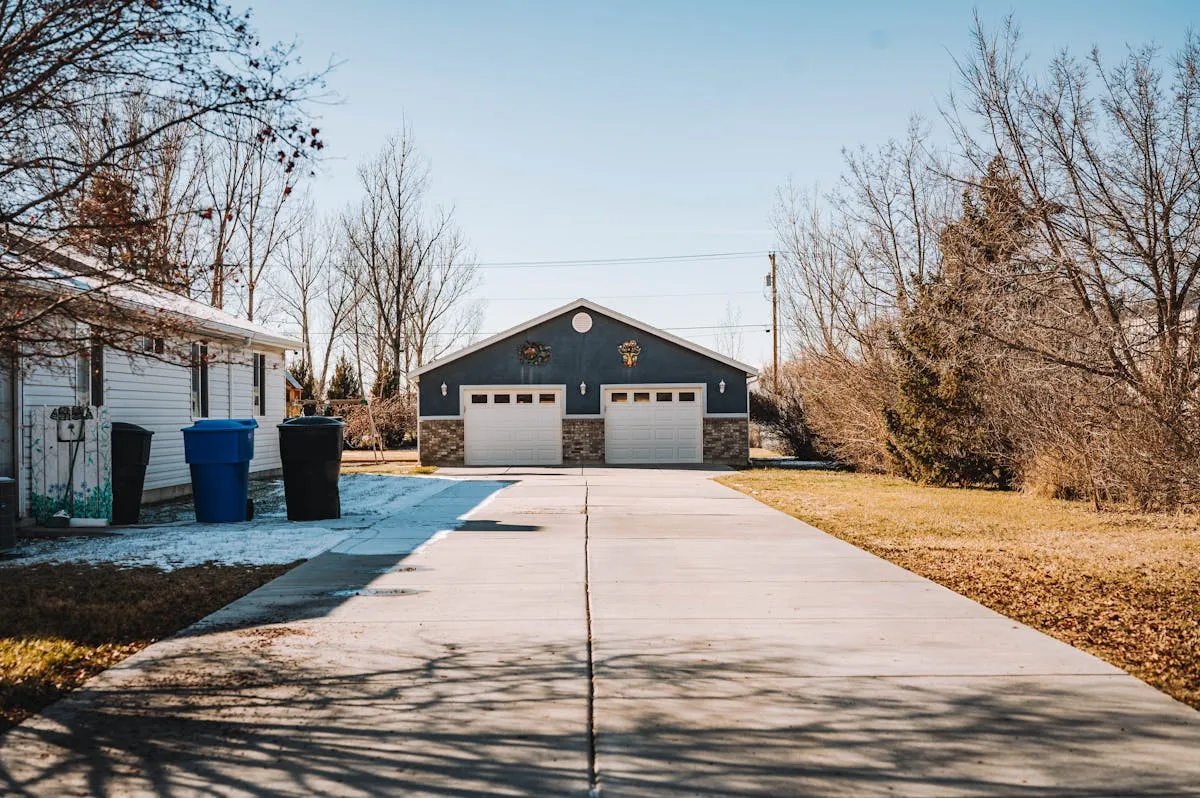
Concrete Driveway Cleaning: Complete Guide to Stain Removal and Restoration
Professional concrete driveway cleaning: remove oil stains, rust, tire marks, and grime. Step-by-step guide with equipment and chemical recommendations.
Key Takeaways
- Surface cleaner = Best results - Even cleaning, no stripes, 2-3x faster than wand
- Pre-treat stains - Chemical action beats brute force every time
- Seal after cleaning - Protects concrete, prevents future stains
- Work in sections - Don’t let cleaning solution dry
- Rinse thoroughly - Leftover chemicals cause rapid re-soiling
Effective driveway cleaning requires the right approach. Hundreds of driveways cleaned by professionals have taught the industry what actually works, without unnecessary complications.
Understanding Concrete Driveways
Why Concrete Gets Dirty
Concrete is porous. That’s the fundamental issue. Oil doesn’t sit on top—it soaks in. Those dark spots in a driveway aren’t surface stains; they’ve penetrated deep into the concrete matrix. That’s why wiping or light pressure washing doesn’t touch them.
What stains concrete:
- Organic growth: Algae, mold, mildew (anywhere shaded)
- Vehicle fluids: Oil, transmission fluid, brake dust
- Road salt and deicers: Especially in winter climates
- Biological matter: Bird droppings, tree sap, pollen
- Atmospheric pollution: Dust, exhaust residue, acid rain
- Tire marks: Usually rubber compounds, not permanent damage
Check the surface PSI reference table for proper equipment settings.
The Concrete Problem
Concrete absorbs water and stains like a sponge. Pressure washing can remove surface dirt while leaving the actual stain untouched because pressure alone won’t penetrate stains that have soaked into the pores. Chemistry matters more than PSI.
Concrete surfaces vary significantly. Exposed aggregate gives dirt places to hide. Stamped patterns trap debris. Smooth finishes show every footprint. Older concrete often has a protective sealer that affects how chemicals penetrate.
How Often to Clean
Annual maintenance keeps driveways looking decent. After heavy storms, sweep and rinse to prevent settled debris from permanently darkening the surface. Before sealing—whether protective or cosmetic—the surface needs to be truly clean. If a home is being sold, a clean driveway adds significant curb appeal.
Clean when you see:
- Visible darkening or dirtiness
- Green or black algae growth
- Oil stains from vehicles
- Tire marks that are noticeable
- Slick, slippery patches (algae or mold)
Equipment Needed
Your Pressure Washer
For driveways, a minimum of 2,500 PSI and 2.3 GPM is required—that’s about 5,750 cleaning units (PSI × GPM). A 3,000 PSI machine at 2.5 GPM is solid. For commercial work or multiple large driveways, 3,200 PSI machines offer more flexibility.
Nozzles matter more than raw PSI:
- Surface cleaner (15-20 inch) - Use whenever possible. It cleans evenly, prevents stripes, and cuts cleaning time in half compared to wand work.
- Green (25°) tip - Standard concrete work with a wand
- White (40°) tip - Final rinses and delicate areas
- Red (0°) tip - Only for stubborn rust. Use sparingly and carefully—this nozzle can damage concrete.
Before You Start
You’ll need:
- Garden hose connected to clean water (not reclaimed water, which can introduce contaminants)
- Leaf blower or broom to clear debris before washing
- Push broom for sweeping
- Wet/dry vacuum (useful but not essential—for standing water)
If You’re Buying a Surface Cleaner
A 15-inch unit works well for standard single-car driveways. Multi-car or commercial work benefits from a 20-inch model. Look for units that hover above the surface (not dragged) and have decent brush skirts to contain splash.
A 6-foot extension wand or telescoping wand prevents hunching over for hours. Comfort matters for sustained work.
Chemical Application
A 2-3 gallon pump sprayer or garden sprayer handles most pre-treatment jobs. Some newer pressure washers have chemical injectors built in, which is convenient but adds another thing to maintain.
Pre-Treatment: The Most Important Step
Site Assessment
Walk around the driveway before starting. Note where the worst stains are—usually near the garage or parking spots. Oil stains, rust stains, tire marks, and algae/mold all need different approaches.
Examine the concrete itself. Cracks should be cleaned but not power washed hard—that just makes them worse. If there’s spalling (flaking or peeling), pressure washing can damage it further. Check for existing sealer, which affects how chemicals penetrate.
Loose gravel or aggregate coming away from the concrete? Note it. Some will come loose during cleaning—that’s normal.
Clear the Workspace
Move vehicles, trash cans, potted plants, and anything else to clear the driveway. If using strong chemicals, keep items that could be damaged away from overspray.
Sweep the entire driveway with a push broom. Get leaves, sticks, loose dirt, and debris off. This prevents them from becoming projectiles or clogging equipment.
Protect What Matters
Water runoff happens. Plan where it goes. Chemical-laden water running toward your foundation, landscaping, or neighbor’s yard creates problems. If concerned, use sandbags or a berm to direct flow.
Shrubs and plants near the driveway? Wet them down with clean water before starting. Saturated plants handle overspray better. For harsh chemicals, cover them with plastic.
Cover the garage door and any exterior vents. Chemicals can damage painted surfaces and finishes.
Cleaning Solutions and Recipes
General Purpose Mix
For basic algae and mildew treatment, mix:
- 5 gallons water
- 12-18 ounces of 12.5% sodium hypochlorite (bleach)
- 4-6 ounces of surfactant
Apply with a pump sprayer, let it sit for 10-15 minutes (don’t let it dry), then rinse. No scrubbing needed—chemistry does the work. See the house wash mix recipes for more options.
Oil Stains
Oil is stubborn because it absorbs deep into the concrete. Heavy-duty degreasers work well. Laundry detergent (1 cup per gallon of water) is surprisingly effective for fresh stains. Full-strength Simple Green handles mild to moderate stains.
For serious, set-in oil:
- Spread kitty litter or sawdust to absorb what you can
- Sweep it up after a few hours
- Apply degreaser directly to the stain
- Wait 15-20 minutes
- Scrub hard with a stiff brush
- Pressure wash with a green tip, holding it 6-8 inches away
- Repeat if needed
Expect older oil stains to require multiple applications over several days.
Rust Stains
Oxalic acid works for rust. Mix 4-8 ounces of oxalic acid powder per gallon of warm water. Stronger concentration for heavier stains.
Before using:
- Wear gloves (neoprene, not latex)
- Eye protection required
- Work in good ventilation
- Never mix oxalic acid with bleach (creates toxic chlorine gas)
- Wet the stain area first with plain water
For more stain-specific techniques, see the stain removal guide.
Apply the acid solution, let it sit 15-20 minutes, scrub with a stiff brush, and rinse thoroughly. Multiple passes may be needed. If the stain is from rebar in the concrete, accept that improvement is possible but complete elimination may not be—the source is internal.
Tire Marks
Most tire marks are rubber compounds sitting on top of the concrete. Full-strength Simple Green or a concentrated degreaser breaks them down. Even a 3% bleach mix works. Apply, wait 10 minutes, scrub, rinse. If they don’t come up on the first try, wait a few hours and repeat.
The Cleaning Process: Step-by-Step
Surface Cleaner Method (Recommended)
A surface cleaner is transformative for driveway work. It cleans evenly, prevents stripes, and cuts cleaning time in half compared to wand work.
Attach the surface cleaner to your wand. Adjust the height so the nozzles sit 1-2 inches above the concrete. Test a small, inconspicuous area first.
How to work it:
- Start at the far end and work toward the exit
- Move in straight lines with each pass overlapping the previous by about 50%
- Walk at a steady pace—fast movement leaves gaps, slow movement wastes time and can damage the surface
- Don't walk through the area you just cleaned
- Work in manageable 10x10 foot chunks
Common mistakes: moving too fast (incomplete cleaning), not overlapping enough (creates stripes), and tilting the cleaner. Keep it level and maintain a steady pace.
Mark your starting point somehow—a small rock or cone—so you know where you’ve been.
Wand Cleaning (If Not Using a Surface Cleaner)
Use a green (25°) nozzle. Hold it 6-8 inches from the concrete. Make wide, sweeping motions 3-4 feet across, overlapping each pass by 50%.
Work section by section, and alternate your direction with each row. This prevents the striping effect that happens when going the same direction over the whole driveway.
The Final Rinse
Switch to a white (40°) nozzle and rinse from the high point down. Work systematically so you don’t miss spots. Direct runoff away from the house and landscaping. One final pass clears any residual cleaner.
The concrete should look evenly clean, with no haze or streaks.
Stubborn Stain Removal Guide
Oil Stains
For light oil, use degreaser or laundry detergent, let it sit 10 minutes, scrub, and wash off with the pressure washer.
Fresh, heavy oil needs different handling. Spread kitty litter or sawdust on it immediately to absorb what you can. Let it sit for a few hours or overnight, then sweep it up. After that, apply heavy-duty degreaser, wait 20+ minutes, scrub hard, and pressure wash. Repeat this process if needed.
Old oil stains that have sat for months or years are challenging. They may need multiple treatments over days or weeks. Some deeply embedded oil stains don’t fully come out—improvement is possible but complete elimination may not be. Trisodium phosphate (TSP) is stronger than degreaser if escalation is needed. Use full PPE and rinse extremely thoroughly afterward.
Rust Stains
Oxalic acid is the right tool. Mix 4 ounces per gallon for mild stains, 8 ounces per gallon for heavy stains. Wet the area first, apply the acid, let it sit 15-20 minutes, scrub, and rinse thoroughly.
Some stains—especially from rebar oxidizing inside the concrete—will improve but never fully disappear. The concrete itself is the source in those cases.
Algae and Mildew
Black or green stains on concrete usually respond to a bleach mix (1-2% sodium hypochlorite) with extra surfactant. Apply it, let it sit 15 minutes (keep it wet if it’s drying fast), and pressure wash. No scrubbing needed—chemistry does the work.
To prevent regrowth, trim trees and shrubs to let sunlight hit the driveway, improve drainage so water doesn’t pool, and seal the concrete afterward.
Tire Marks
Fresh tire marks come off easily with degreaser or a 3% bleach mix. Old, set-in marks take more work. Multiple applications of cleaner, dwell time, scrubbing, and rinsing may be needed. At some point, acceptance that some marks are permanent is realistic.
After Cleaning: Sealing
Why You Should Seal
Sealing protects concrete from water absorption (which prevents freeze/thaw damage), resists new stains from absorbing in, and keeps algae from taking root as easily. A sealed driveway is faster to clean next time around.
Two types of sealers exist: penetrating sealers that soak into the concrete and look natural, lasting 2-5 years, and film-forming sealers that sit on top with a glossy wet look but last only 1-2 years. Penetrating sealers are usually the better choice for driveways in freeze/thaw climates. Film-forming sealers work mainly for decorative concrete in dry climates, and they can peel if applied incorrectly. Learn more in the concrete sealers guide.
Before Sealing
The concrete needs to be truly clean and completely dry. Wait 48-72 hours after cleaning before sealing. Check the weather forecast—no rain for at least 24 hours after applying sealer. Temperature should be between 50-80°F.
If the concrete is brand new, etch it lightly first to help the sealer bond. On existing concrete, just ensure it’s clean.
Applying Sealer
Follow the product directions exactly. Apply with a roller or sprayer in manageable sections. Back-roll to remove lap marks. Let it cure for 24-48 hours before driving on it or letting water sit on it.
The difference between a well-sealed driveway and an unsealed one becomes obvious after a few months. Sealed concrete repels stains. Unsealed concrete keeps absorbing them.
Common Problems and Solutions
White Haze After Cleaning
This is efflorescence—salt deposits rising to the surface as the concrete dries. It’s harmless but looks bad. Brush it off with a stiff broom, rinse with plain water, and sometimes it goes away. Sometimes it comes back a few days later. Sealing the concrete prevents it from recurring as often.
Aggregate Coming Loose
Sometimes pieces of stone start separating from the concrete. Usually it’s from poor concrete mix, existing spalling you didn’t notice, or pressure set too high. Back off the pressure, use a wider nozzle, and avoid the area. Pressure washing can’t fix this—it needs professional concrete repair or resurfacing.
Cleaner Left Stains or Residue
If an acid-based cleaner was used and not rinsed thoroughly, neutralize it with a baking soda solution (1/2 cup per gallon of water), then rinse again. Sometimes more rinsing passes are needed than initially expected.
Driveway Looks Worse or Patchy
Clean concrete looks different from dirty concrete. If only half the driveway was cleaned, the contrast is obvious and looks worse. Clean the entire driveway for a uniform appearance. Cleaning also reveals the actual condition of the concrete—cracks, wear, variation in color—that was hidden under dirt. This is normal. Sealing afterward evens out the appearance considerably.
DIY vs. Hiring a Pro
Doing It Yourself
If you already own a pressure washer, material costs are minimal: $30-60 for chemicals, maybe $100-200 for sealer. A surface cleaner (if you don’t have one) runs $100-300. First time takes 4-8 hours depending on driveway size and how many stains you’re fighting. After doing it once, you can repeat the job in 2-4 hours.
The deciding factor is whether you own the right equipment. If you don’t have a pressure washer, buying one for a one-time job doesn’t make sense.
Hiring a Professional
Most pros charge $150-300 for a single-car driveway, $200-400 for two-car, and more for larger or heavily stained jobs. They bring equipment, chemicals, expertise, and experience with stubborn stains. Most include sealer application.
The advantage: professionals work 2-3x faster than DIY, they know how to handle difficult stains, and you’re not spending your Saturday doing it. The downside: cost.
The Decision
DIY if you own equipment, have the time, and don’t mind the learning curve. Hire a pro if you don’t have equipment, have limited mobility, or just want it done right without the hassle. A pro job usually looks better than a first attempt—they know how to get even cleaning and handle tricky stains.
Maintenance Between Cleanings
Sweep your driveway monthly and treat spills while they’re fresh. Spot-clean stains when they appear instead of letting them set for months—fresh stains are infinitely easier to remove.
Check for cracks and algae growth a few times a year. Trim back trees and shrubs if shade is creating mold problems.
Deep clean annually, and re-seal every 2-3 years depending on traffic and weather.
Next Steps
Was this article helpful?
Your feedback helps us improve our content.
Related Articles
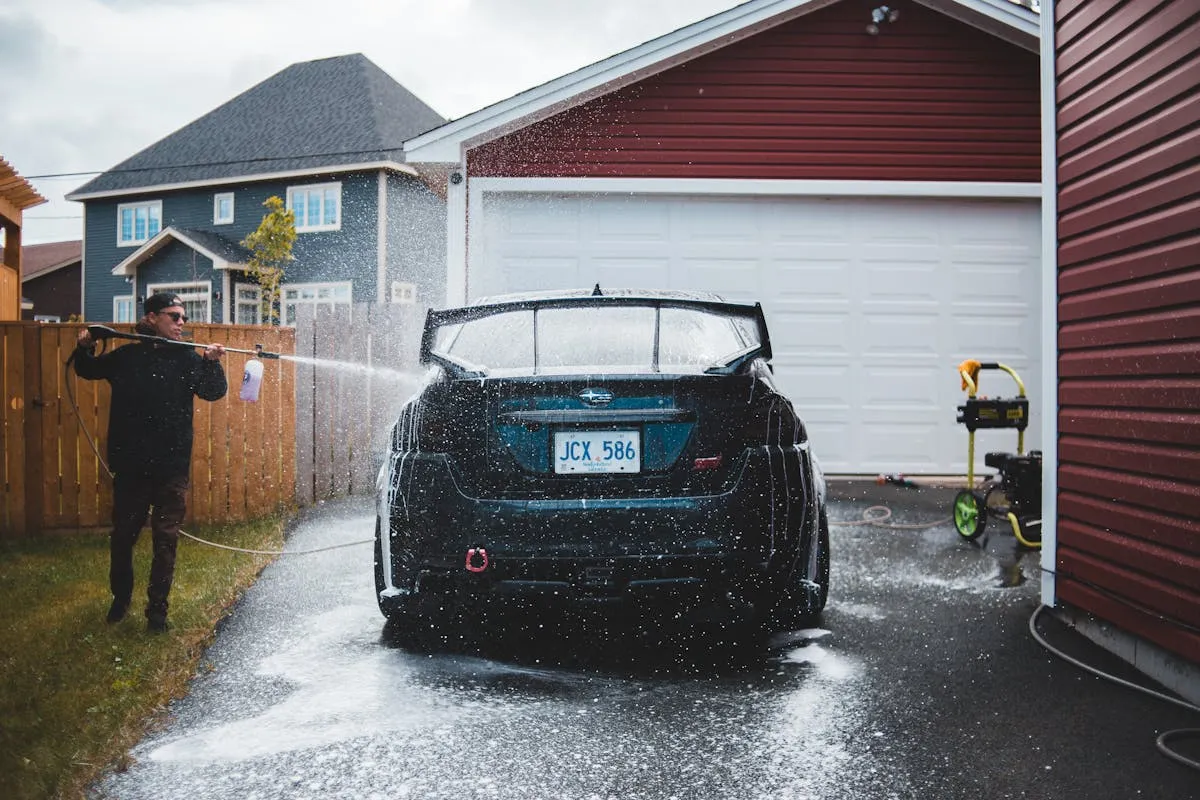
Surface Cleaner Technique: Perfect Even Concrete Cleaning
Master pressure washer surface cleaners: technique tips, speed patterns, and how to avoid stripes. Get professional results on driveways, patios, and flatwork.
Stain Removal Guide: Toughest Stains and How to Remove Them
Remove tough stains: oil, rust, grease, paint, and organic stains from concrete, siding, and wood. Professional stain removal techniques and chemical recipes.
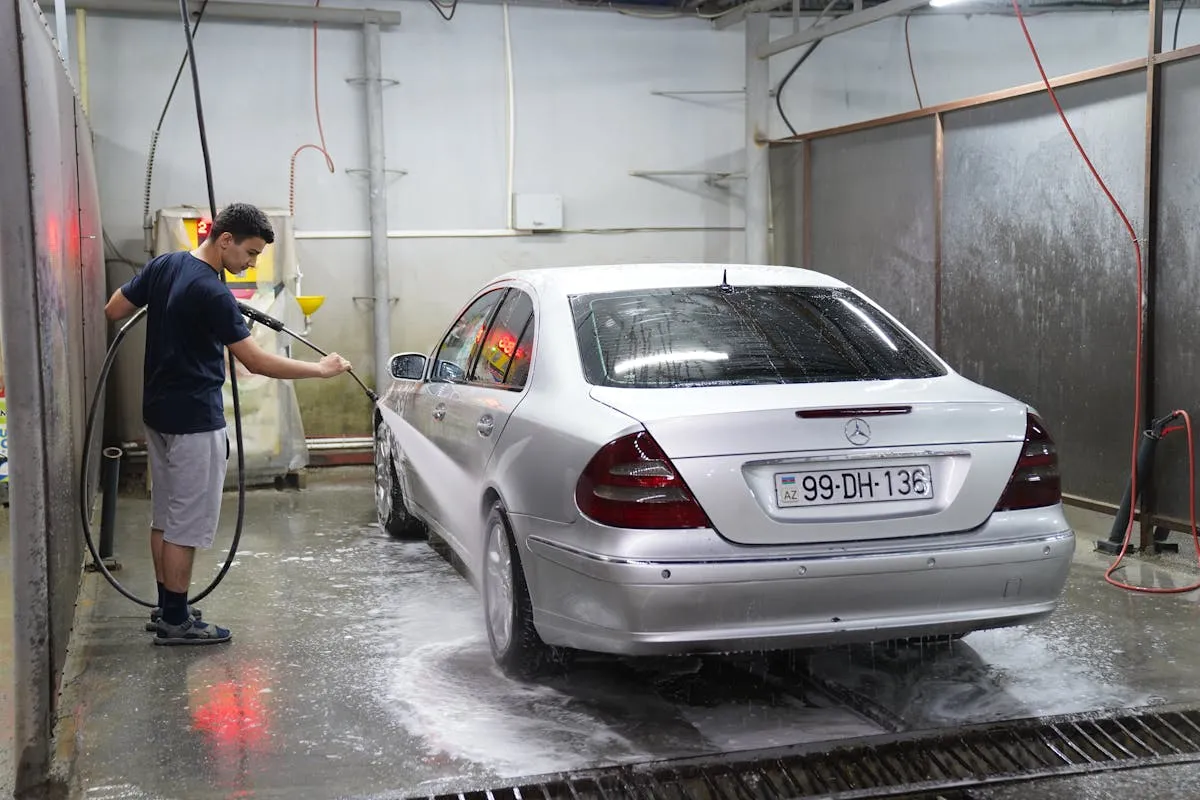
Your First Pressure Washing Job: Step-by-Step Success Guide
Complete guide to your first pressure washing job. Setup, technique, safety, and common mistakes to avoid. Start pressure washing with confidence.