
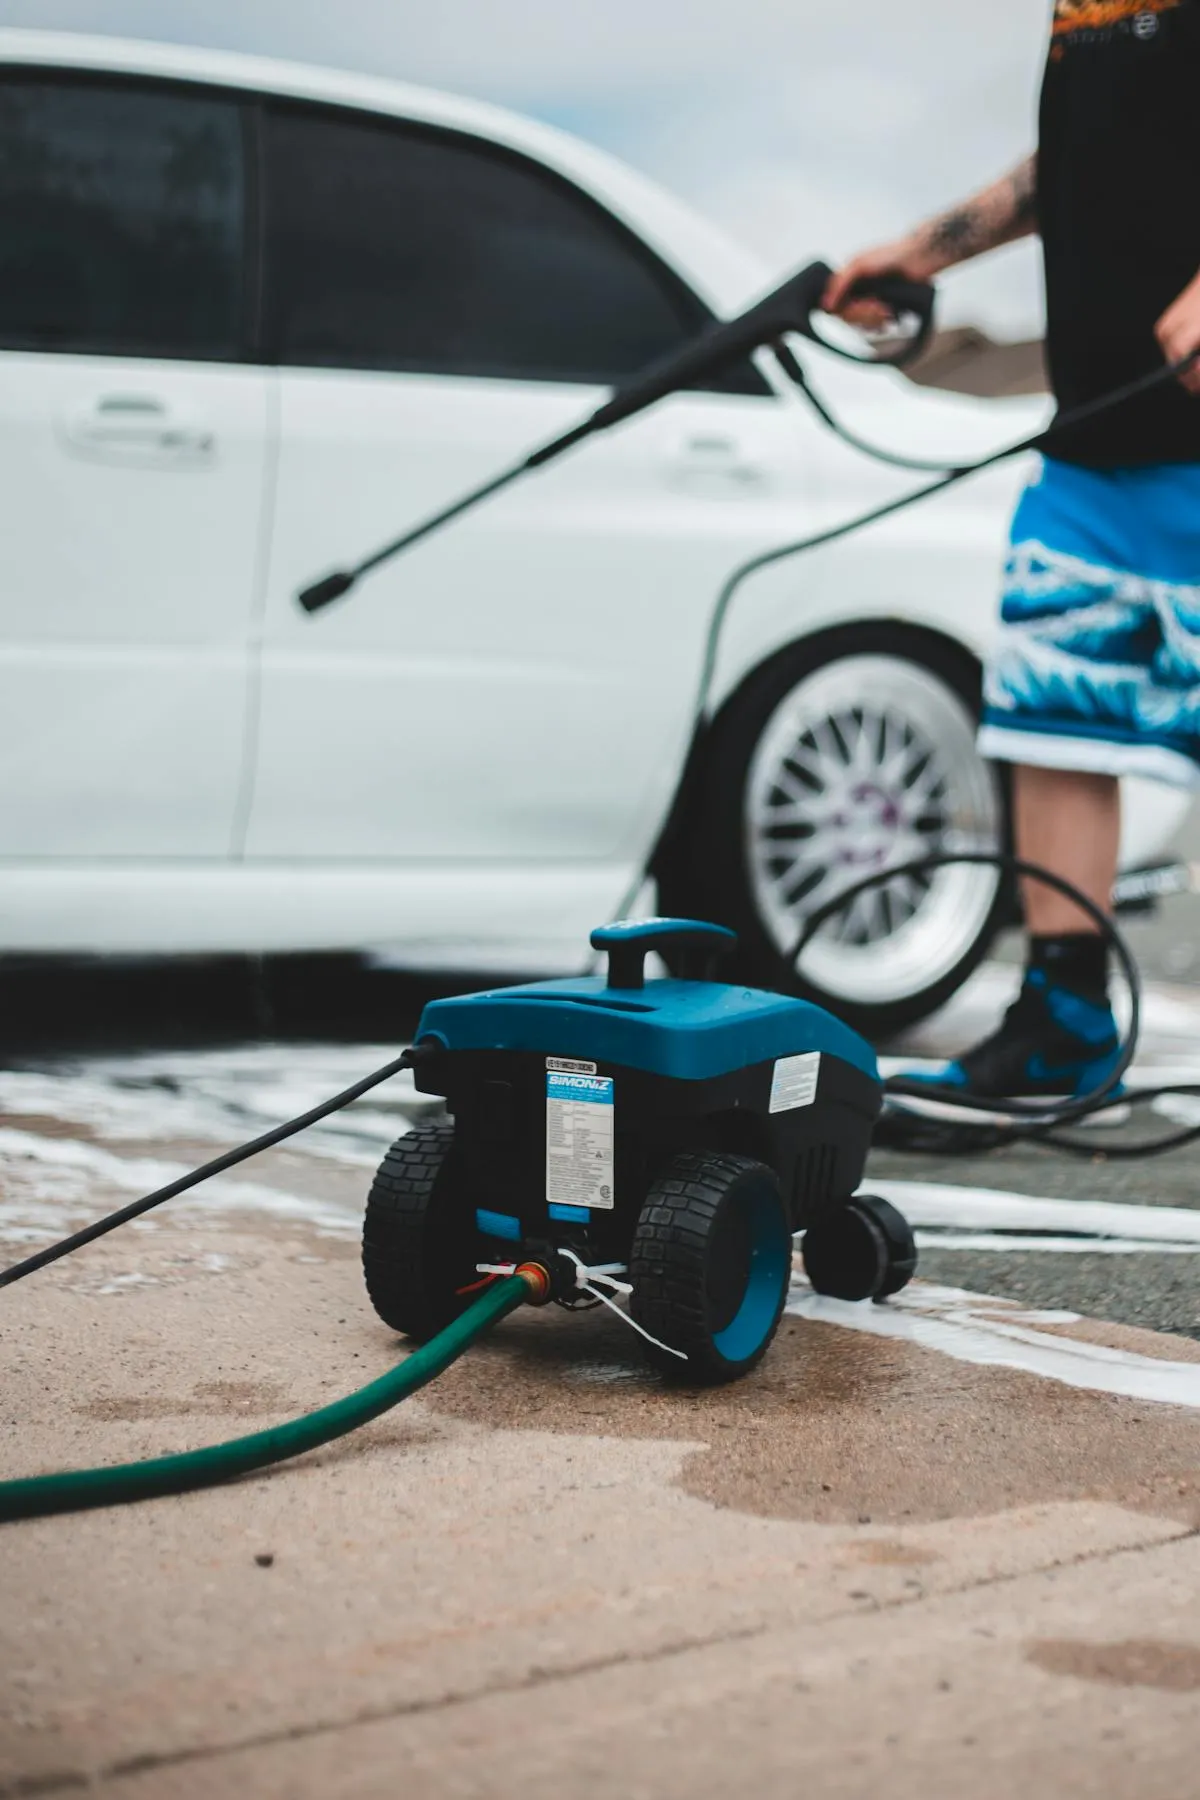
Pressure Washing 101: The Complete Beginner's Guide
Master pressure washing fundamentals: equipment safety, techniques, and common mistakes to avoid. Perfect for first-timers.
- Start with 1,500–3,000 PSI for residential work
- Always test on a hidden spot first
- Keep the nozzle moving — don't park it in one place
- Wear safety glasses, gloves, and closed-toe shoes
- Never point the spray at people, pets, or anything fragile
What is pressure washing?
Pressure washing uses high-pressure water to blast away loose paint, mold, grime, dirt, and weathered buildup from surfaces. It’s powerful, effective, and dangerous if you don’t respect the basics.
Before you start, make sure you understand safety rules first. The pressure involved here is serious and demands respect.
Power gets measured in PSI (pounds per square inch). But pressure alone doesn’t tell you the whole story. The real cleaning power comes from combining PSI with water volume.
The Cleaning Units Formula: Cleaning Units = PSI × GPM
GPM is gallons per minute, the volume of water flowing out. You need both numbers. A 3,000 PSI machine pushing just 1.2 GPM will struggle on driveway stains. Compare that to a 2,500 PSI unit with 2.3 GPM: the lower-pressure machine cleans faster because volume matters as much as pressure.
Essential equipment
Pressure washer types
Gas-Powered Washers (2,000–4,000 PSI)
- Best for: Large driveways, decks, house siding
- Pros: More power, portable, no cord to trip over
- Cons: Louder, require gas and oil, higher maintenance
Electric-Powered Washers (1,300–1,800 PSI)
- Best for: Cars, patio furniture, small decks
- Pros: Quieter, lightweight, easier storage
- Cons: Less power, cord length limits reach
For serious property work, gas units outperform electric machines. Electric models suit spot cleaning and smaller jobs, but you’ll reach their limits on a driveway or house siding.
Spending extra on a quality gas unit saves time and prevents damage. Cheap machines often have low GPM, which means longer work time and poor results.
Must-have accessories
- Nozzle Tips — Color-coded for different spray patterns and distances
- Surface Cleaner — Makes flat surfaces like driveways far faster and more even
- Extension Wand — Reach second-story siding without a ladder
- Chemicals/Detergents — Must be formulated for pressure washers (never use household bleach straight from the jug)
Safety first: non-negotiable rules
Personal protective equipment (PPE)
- Safety glasses because flying debris from concrete and wood can cause serious injury
- Hearing protection because gas washers reach 85+ dB, and prolonged exposure causes permanent hearing loss
- Gloves to protect against chemicals and the rough spray edge
- Closed-toe shoes with non-slip soles to prevent slipping on wet surfaces
The spray can puncture skin and cause serious internal injury. Never point it at yourself, other people, or animals. Ever. This isn't exaggeration—treat the nozzle like a weapon.
Critical safety warnings
Mistakes to avoid:
- Using a 0-degree nozzle (red tip) on anything softer than concrete
- Pressure washing while standing on a ladder
- Ignoring electrical hazards—outlets, light fixtures, wires in the area
- Spraying toward windows, doors, vents, or AC units
- Mixing chemicals or using full-strength bleach without knowing what you’re doing
Your first pressure washing job
Step 1: Preparation
Clear the work area of furniture, toys, and anything that could blow away or get soaked. Cover plants with tarps or plan to rinse them down before and after. Close windows and doors so water doesn’t infiltrate indoors. Then find a small, out-of-sight spot and test your entire setup there first. This takes ten minutes and prevents most disasters.
Step 2: Choose the right nozzle
For a complete breakdown, see our detailed nozzle guide. Here’s the quick reference:
| Color | Degrees | Best For |
|---|---|---|
| Red | 0° | Concrete, tough stains (use with extreme caution) |
| Yellow | 15° | Stripping paint, heavy cleaning |
| Green | 25° | General cleaning, siding, decks |
| White | 40° | Rinsing, delicate surfaces |
| Black | Soap | Applying detergent |
Step 3: Technique
Keep the nozzle moving. Don’t park it in one spot or the surface will get gouged. Start about a foot away and adjust closer if needed. Work in overlapping strokes like you’re mowing a lawn. Angle the spray slightly rather than hitting straight on. These habits prevent damage and deliver consistent results.
Each pass should overlap the previous one by about 25%. This removes any uneven cleaning lines and looks more professional.
Common beginner mistakes
1. Using too much pressure
More pressure sounds better until your deck is ruined. Excessive pressure damages:
- Wood decks: furring and splintering damage that can’t be fixed
- Vinyl siding: cracks that let water penetrate behind the wall
- Windows: can shatter from the force
- Stucco: surface erodes away permanently
Know your surface before you start. When in doubt, begin with lower PSI and work up.
2. Not pre-treating with chemicals
Detergent does roughly 70% of the cleaning work. The pressure washer is just rinsing it away. Skip this step and you’re working twice as hard for half the results.
Apply detergent first, let it sit for five to fifteen minutes (called dwell time), then rinse thoroughly. The chemical does the actual cleaning. For house washing projects, check out our chemical mixing guides for exact recipes.
Mixing bleach with ammonia-based cleaners creates toxic chlorine gas. Always use single-purpose formulations designed for pressure washing, and follow the product instructions exactly.
3. Forgetting to rinse thoroughly
Leftover detergent attracts dirt like a magnet. You’ll watch the surface get dirty again in a few weeks. Rinse until the water runs clear, not just “mostly clear.”
Next steps
Was this article helpful?
Your feedback helps us improve our content.
Related Articles

Pressure Washing Equipment Guide: Types, Features, and What to Buy
Complete guide to pressure washing equipment: gas vs electric, PSI/GPM explained, must-have features, and how to choose the right machine.
Pressure Washing Safety: Essential Rules Every Operator Must Follow
Critical pressure washing safety rules: PPE, electrical hazards, ladder safety, and chemical handling. Prevent injuries and protect property.
Nozzle Tips Explained: Degrees, Colors, and When to Use Each
Master pressure washer nozzle tips: understand color codes, spray patterns, and which nozzle to use for every surface safely.