
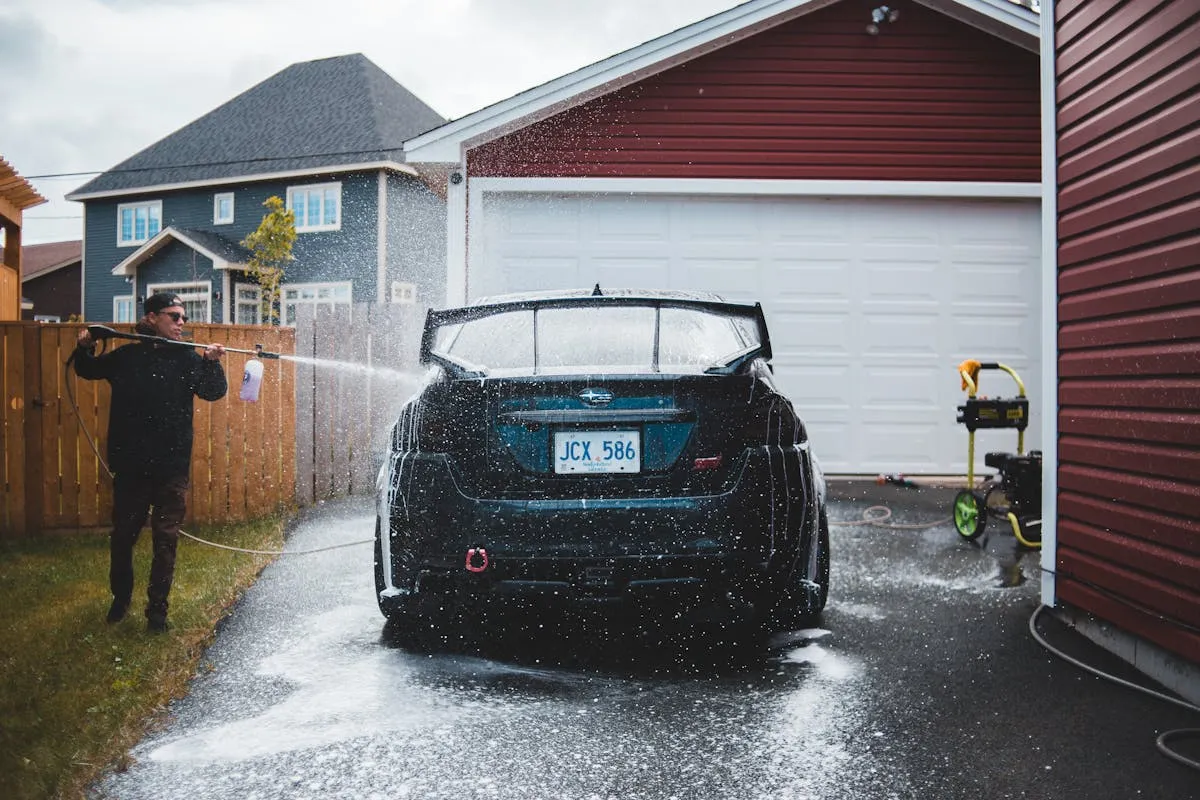
Surface Cleaner Technique: Perfect Even Concrete Cleaning
Master pressure washer surface cleaners: technique tips, speed patterns, and how to avoid stripes. Get professional results on driveways, patios, and flatwork.
Key Takeaways
- 2–3x faster than wand sweeping with professional results
- Overlap by exactly 50% to eliminate stripes
- Steady walking pace makes or breaks the job
- Let it float on the water pressure
- Straight lines only — curves create uneven patterns
What is a Surface Cleaner?
A surface cleaner is a dome-shaped attachment for your pressure washer. Inside are spinning nozzles rotating at 2,000–5,000+ RPM. The skirt contains splash. High-pressure water flows in, the nozzles spin, and you get a 15–20 inch cleaning path that hovers on a cushion of water. When used correctly, there are no stripes.
Why? Instead of sweeping a wand back and forth, you’re pushing a tool that cleans evenly in one direction. It’s 2–3 times faster than wand work, eliminates stripes, uses less effort, and delivers professional results consistently.
Best for concrete driveways, patios, garage floors, sidewalks, and pool decks. It works on any flat surface requiring uniform cleaning.
Choosing the Right Size
Most operators start with a 15-inch cleaner. That’s a 15-inch cleaning path, weighs 5–8 pounds, costs $100–200. For standard residential driveways and sidewalks, it’s the right choice.
For large properties or parking lots, a 20-inch cleaner covers more ground (20-inch path, 8–12 lbs, $200–400). Professionals and high-volume operators prefer this size.
Some manufacturers make 18-inch models as a middle ground. They work fine and offer a balance between coverage and maneuverability.
Match Your Machine to Your Cleaner
Your pressure washer’s CU (cleaning units) = PSI × GPM. A 15-inch cleaner needs 4,000–8,000 CU. An 18-inch needs 5,000–9,000. A 20-inch needs 6,000–10,000+. Proper matching is essential. See equipment buying guide for correct washer selection.
An undersized washer makes the nozzles spin too slowly—weak cleaning and frustrating results. You’d get better performance from the wand.
An oversized washer makes the nozzles spin too fast and can damage concrete. You’ll also wear out the cleaner faster.
Most residential washers run 2,500–3,000 PSI at 2.3–2.5 GPM. A 15-inch cleaner is ideal for that output.
Setup and Preparation
Clear the area completely—no furniture, vehicles, or toys. Sweep all loose debris. Look for cracks, spalling, or loose aggregate. Plan your exit so you’re not backing into the cleaned area. Protect plants and close windows if needed.
Inspect the nozzles, check the skirt for tears, verify all connections are tight, and confirm the nozzles spin freely.
Turn off the pressure washer before attaching the cleaner. Connect it to your wand or extension wand, hand-tighten (don’t over-tighten), and briefly test the spray to verify operation. Most operators use an extension wand for reach and to reduce back strain.
The Perfect Technique: Step-by-Step
Stand upright with feet shoulder-width apart. Grip the handle loosely—you’re guiding the tool, not wrestling it. Keep your arms relaxed.
Start on dirty concrete and work backward into the clean area. Begin at the far end so you’re moving toward your exit. Stand at arm’s length from the cleaner.
Pull the trigger before reaching the cleaning area, then lower the cleaner gently onto the surface. Let the nozzles spin up for a second or two. Then walk forward at a steady, consistent pace. Don’t push down—let the tool float on the water pressure.
On your first pass, pay close attention to your walking speed, the cleaning pattern, and effectiveness. This is your baseline. Adjust if needed.
Finding Your Speed
Too slow and you over-clean, waste time, and risk surface damage. Too fast and you miss dirt and must redo areas.
The right speed leaves clean concrete behind without stripes, feels natural, and completes the job in one pass. A typical pace is 2–3 feet per second (roughly one car length every 3–4 seconds).
Clean a 10×10-foot test area and check the results. Is the concrete clean? Any missed spots? Increase pace if you’re over-cleaning, decrease pace if you’re missing dirt. Once you’ve found the sweet spot, lock in that pace for the entire job.
The Overlap Technique
Overlap is everything. Less than 50% and stripes appear between passes. You’ll have to redo work.
50% overlap means uniform cleaning in one pass. The edge of your next pass covers the middle of your last pass. That’s the formula.
Make your first pass the full length. Shift sideways by half the cleaner’s width. Repeat. Use the skirt as your visual guide—line up the edge of your next pass with the middle point of the last pass.
For a 15-inch cleaner, shift over 7.5 inches each time.
Looking directly at where you're working gives the clearest view of overlap. Position yourself so you can see the current path and the last completed path in your peripheral vision.
Managing Water Exit
The cleaner sprays water out the sides. If you walk through it, you get soaked and create a slip hazard.
Walk backward, away from the spray. If it’s windy, let the wind carry water away from you. Watch where the water is going. Wear waterproof boots. Some cleaners have better water containment than others—the skirt design matters.
Common Technique Mistakes
Tilting the cleaner. Keep it level, parallel to the ground. Even on slopes, stay relatively flat. Let it float on the water pressure.
Pushing down. This reduces spinning speed and creates uneven patterns. Let the tool’s weight do the work. Light touch only.
Moving in curves. The outside edge cleans differently than the inside edge. Curves create wedge-shaped patterns. Stick to straight lines only. Stop, turn, and start a new line.
Stopping mid-pass. Creates a clean spot where you paused—leaves a footprint. Once you start a pass, commit to the full length.
Wrong speed. Find your pace with a test area. Too fast misses dirt. Too slow wastes time. Maintain consistent speed throughout each pass.
Tilting, pushing down, or moving in curves significantly increases damage risk on delicate concrete. Older or unsealed concrete is particularly vulnerable to pitting and etching.
Pattern Strategies
For a standard two-car driveway, divide it into sections and work systematically. Start at the far end, work in manageable chunks (10×10 is ideal), move toward your exit. Process left to right, complete each section before moving on. First-time cleaning takes 1–2 hours. Maintenance cleaning takes 30–45 minutes.
For narrow sidewalks (less than 3 feet wide), the wand is often more efficient than a surface cleaner. If you do use a cleaner on a sidewalk, center it and make straight passes. 50% overlap remains critical. Use the wand for edge work.
For large patios, move all furniture out completely and clean the whole area. Alternatively, divide it into quadrants. For built-in features like grills or planters, use the wand around them and the surface cleaner for the main area.
Troubleshooting Surface Cleaner Issues
Cleaner not spinning. Turn off the washer, remove the nozzles (usually twist counter-clockwise), clean them with a cleaning tool or paperclip, and reinstall. If that doesn’t fix it, check for leaks or verify your washer has adequate pressure.
Leaving marks on concrete. You’re stopping mid-pass. Keep moving. Maintain consistent pace. If you must pause, release the trigger first.
Cleaner bouncing or vibrating. Let it float with a light touch. Slow down slightly. Some concrete textures are tougher to clean evenly. If the skirt is worn, replace it.
Advanced Techniques
Two-pass method for heavy dirt. First pass at a faster pace to rough-clean and remove loose debris. Second pass slower and more careful to catch stubborn stains. Takes 30–50% longer overall but produces noticeably better results.
Cross-hatch pattern for tough stains. Clean in one direction, then perpendicular. Double coverage, different attack angles. Same total time invested, much cleaner results. Excellent for heavily stained concrete or pre-sealing preparation.
Edge cleaning. The surface cleaner leaves about 2 inches of edge uncleaned. Either clean edges with the wand first, then use the surface cleaner (and overlap slightly), or use the surface cleaner first and wand the edges after. The wand-first approach blends better and avoids visible transition lines.
Surface Cleaner Maintenance
After each use, flush with clean water to remove chemicals and dirt. Inspect and clean the nozzles. Check the skirt for damage. Rinse the exterior. Store in a protected area.
If you use the cleaner weekly or more, deep clean the nozzles with vinegar or descaler, inspect all O-rings and replace if needed, verify the spinning mechanism works freely. Replace nozzles every 3–6 months with regular use.
At season’s end, remove the nozzles and clean thoroughly, inspect all components for wear or cracks, replace any worn parts, clean any inline filter, and store indoors to prevent freeze damage.
Speed vs. Quality: Finding the Balance
Maintenance cleaning (driveway cleaned every 6–12 months, light soil): Use a brisk pace (3–4 feet per second) and one thorough pass. Good results, good efficiency.
First-time or neglected driveways: Use a moderate pace (2–3 feet per second) and two passes. Excellent results.
Pre-sale or showroom quality: Slow down to 1–2 feet per second, make multiple passes, pre-treat stains, and inspect after. Professional finish.
Pro Tips
The cleaner is a tool, not magic. Your pace, overlap, and consistency determine the result. A cheap cleaner used properly outperforms an expensive one used poorly. Master the basics first.
Watch the edge of the last pass. This is your guide for overlap. Don’t rely on counting steps or judging distance—your eyes tell you exactly where the last pass ended.
Test on small areas first. Before committing to a full driveway, run your test area and practice your pace on a 10×10-foot section. Adjust and repeat until you’re confident.
Keep nozzles clean. Clogged nozzles spin unevenly. This creates dark spots and prevents the tool from working properly. Clean nozzles every 2–3 hours of use.
Document your times. Write down start time, finish time, area size, pace, and pass count. Over time, you’ll establish benchmarks for different job types.
Practice rhythm. Count cadence as you walk. Consistent rhythm = consistent results. “One-two, one-two” in rhythm keeps you moving at the same pace every pass.
Next Steps
Put your surface cleaner skills to work:
Was this article helpful?
Your feedback helps us improve our content.
Related Articles

Concrete Driveway Cleaning Guide: Remove Oil Stains, Tire Marks, and Algae
Professional concrete driveway cleaning techniques. Remove oil stains, tire marks, algae, and grime. Surface sealing, restoration, and long-term protection strategies.
Pressure Washer Surface Cleaners: Buying Guide and Reviews
Complete guide to pressure washer surface cleaners: sizes, features, compatibility, and how to choose the right surface cleaner for your needs.
Your First Pressure Washing Job: Step-by-Step Success Guide
Complete guide to your first pressure washing job. Setup, technique, safety, and common mistakes to avoid. Start pressure washing with confidence.