
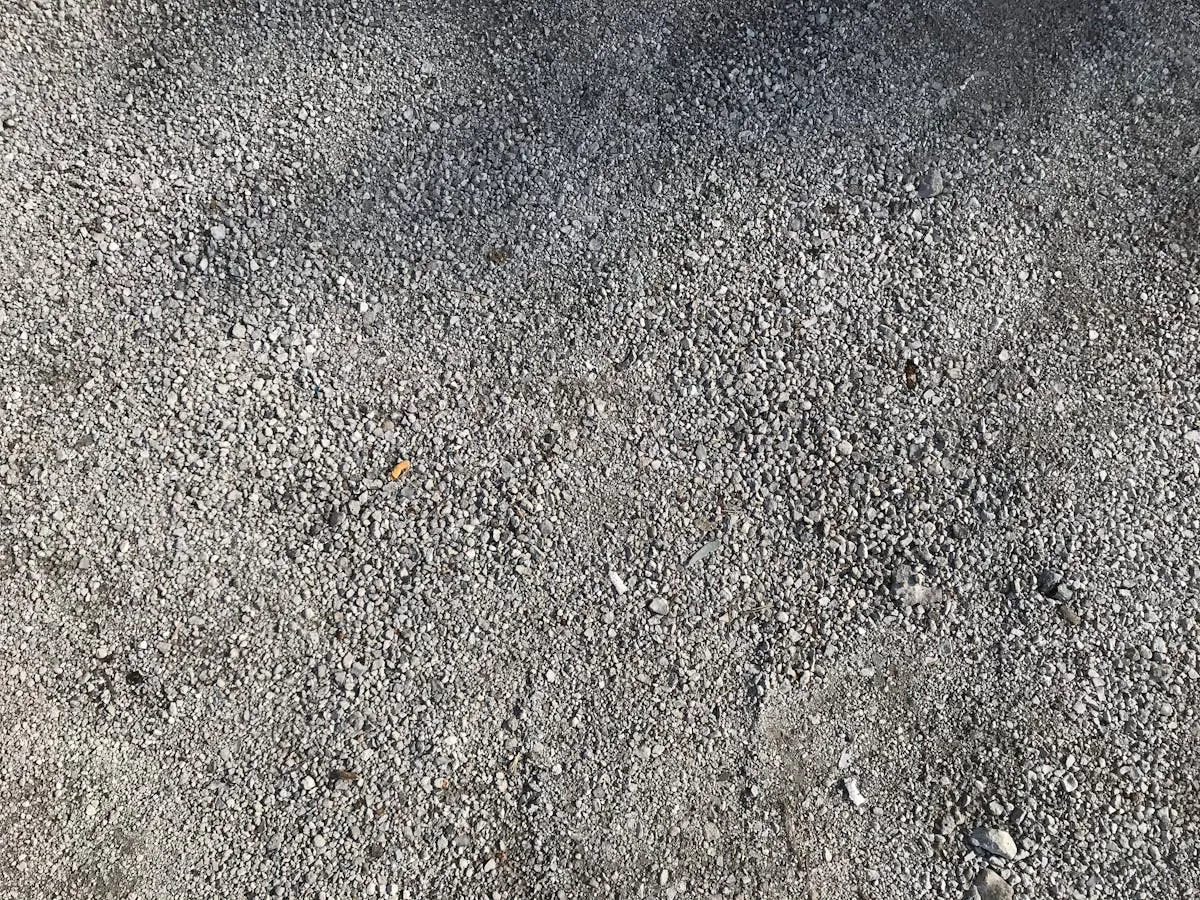
Concrete Sealers Guide: Types, Selection, and Application
Complete guide to concrete sealers: penetrating vs film-forming, acrylic vs. epoxy, how to choose, and proper application for long-lasting protection.
Key Takeaways
- Sealing extends concrete life - 10-20+ years protection
- Penetrating sealers best - For most climates, breathable
- Film-forming for decorative - Wet look, but shorter lifespan
- Proper prep critical - Must be clean and dry before sealing
- Reapply every 2-5 years - Depending on sealer type and wear
Why Seal Concrete?
Unsealed concrete is a sponge. It absorbs water, stains, salt, chemicals—everything. Driveways that were never sealed often crack within 10 years. Sealed concrete lasts 30-40+ years. Unsealed typically lasts 15-20, if you’re lucky.
Sealing repels water so freeze/thaw cycles don’t crack the surface. Stains bead up instead of soaking in. Oil, rust, dirt, road salt—they all sit on top instead of penetrating. Your driveway stays cleaner longer and costs less to maintain.
You also get less dust tracking into your house and easier cleaning when you do need it. The investment in sealer pays for itself in reduced cleaning time and extended concrete life.
Without sealing, you get white salt deposits (efflorescence), surface flaking (spalling), cracking from freeze/thaw, and permanent stains from every spill. See our stain removal guide for dealing with existing stains.
Types of Concrete Sealers
Penetrating Sealers
These are silane or siloxane-based products that soak into the concrete pores and create an invisible water-repellent barrier. They don’t form a surface film—they bond with the concrete itself. The surface still looks like concrete. They breathe, so moisture can pass through.
Pros:
- Invisible—natural concrete look
- Long-lasting (2-5 years typically)
- Breathable, so no moisture trapping
- Can't peel or delaminate
- Simple reapplication
Cons:
- No glossy wet look
- Requires 2+ coats sometimes
- Less obvious protection (which is actually an advantage)
Use for: Most driveways, freeze/thaw climates, anywhere you want natural appearance and durability.
Film-Forming Sealers
These are acrylic or epoxy coatings that sit on top of the concrete surface. You can see them. Acrylics are water-based, easy to apply, and last 1-3 years. Epoxies are two-part, tougher, and last 2-5 years but can yellow in sun and are expensive.
Pros:
- Glossy wet look (if that matters to you)
- Excellent surface stain protection
- Hides imperfections
- Color options available
Cons:
- Peels and flakes when it wears out
- Traps moisture underneath (problem in freeze/thaw climates)
- Requires removing the old coat before reapplying
- Epoxies can yellow
- More frequent reapplication
Use for: Decorative patios, dry climates, pool decks where aesthetics matter, low-traffic areas.
Specialty Options
Salt-resistant sealers for pool decks and coastal areas. High-traffic formulas for garages. Colored sealers to add pigment and hide imperfections. Anti-slip versions for safety around pools.
Choosing the Right Sealer
By Climate
In freeze/thaw climates (most of the US), use penetrating sealer. Film-forming traps moisture under the surface, and when that water freezes and expands, it cracks the concrete. Penetrating seals are breathable—moisture can escape.
In dry climates (Arizona, Nevada), either type works. No freeze/thaw means film-forming won’t cause damage. Choose based on whether you want the wet look.
In coastal or humid climates, penetrating is still better. If you’re near salt water, use salt-resistant penetrating sealer. Avoid epoxies in humidity—they tend to yellow.
By Surface
Driveways: Penetrating sealer. You want it to last, not peel.
Patios: Either works, depending on your preference. Want it to look natural? Penetrating. Want glossy? Acrylic. But remember acrylic needs replacing more often.
Pool decks: Penetrating with salt-resistance and anti-slip additives. Safety and durability.
Garage floors: High-traffic formula, either penetrating or epoxy depending on whether you can commit to removing old sealer when it wears out.
By Appearance
Natural concrete look? Penetrating sealer. Glossy wet look? Film-forming acrylic (not epoxy unless it’s a dry climate). Want color? Tinted sealer, but it hides imperfections better than you might want.
Preparation: The Make-or-Break Step
The sealer only works if you prep properly. Clean concrete, dry concrete, repaired concrete.
Clean surface: Everything sealed is permanent. If you seal over dirt, you’re sealing dirt in. Pressure wash the surface, remove stains, etch it if it’s new or smooth concrete.
Dry surface: Wait 48-72 hours after cleaning or rain. Moisture trapped under sealer causes damage. You can tape plastic to the surface and check for condensation, or use a moisture meter. If you’re not sure, wait longer. Moisture content should be below 15%.
Repair first: Fill cracks, fix spalling, patch pitting. What you seal is what you get. Repairs after sealing are difficult and visible.
Application
You'll need a roller with extension handle, a paint tray, a brush for edges and corners, and protective gear. Have painter's tape and plastic sheeting to protect surroundings and expansion joints (never seal expansion joints—they need to move, and sealing them will crack concrete).
Calculate how much sealer: Penetrating sealers cover 100-250 sq ft per gallon, acrylics cover 150-300, epoxies cover 150-250. For a 400 sq ft driveway with penetrating sealer at 200 sq ft per gallon, you need 2 gallons. Buy 10-15% extra for spills and touchups.
Application steps:
- Protect landscaping and house with plastic. Mask expansion joints with tape.
- Cut in edges with a brush. Get all the perimeter and corners the roller can't reach.
- Pour sealer into the tray and load the roller. Apply in sections, maintaining a wet edge so you don't see lap marks. Overlap passes by 50% for even coverage.
- Apply a second coat if the product requires it, usually after 1-4 hours. Read the directions.
- Clean tools and remove protection. Allow full curing time before using the surface.
Curing
Penetrating sealers cure in 24-72 hours. Acrylics take 24-48 hours to dry, 7 days to full cure. Epoxies cure similar to acrylics. Full cure means maximum protection—the surface is ready for traffic, water, weather, chemicals.
During curing, keep people and animals off the surface. Protect from rain. No direct sunlight (it dries too fast and causes bubbles). Ideal conditions are 50-80°F, overcast, no rain for 24+ hours.
After curing, inspect annually for wear, clean regularly, and reseal every 2-5 years depending on the product and traffic.
Maintenance and Reapplication
Reseal when water stops beading on the surface, stains start appearing, appearance fades from UV, or you see wear patterns in high-traffic areas.
For penetrating sealers, just clean, let dry (48-72 hours), and apply fresh sealer. Same product or compatible. Cure for 24-72 hours.
For film-forming sealers, you need to remove the old coat before reapplying. This is difficult—stripping or grinding old sealer takes time and effort. Some pros just apply coat over coat, building thickness each time, until eventually they must strip. That approach should be avoided. Remove old sealer properly.
Common Problems and Solutions
Sealer turned milky white: Applied too thick, surface was too wet, or wrong product. Strip it if you can (difficult) or reapply thinner. It might fade over time.
Peeling or flaking: Poor surface prep, applied to wet concrete, or wrong product. Remove the peeled areas and reapply after proper prep. Consider a different sealer if this product didn’t work.
Bubbles or pinholes: Applied in direct sun (too hot, dried too fast), too thick, or poor ventilation. Apply in shade, use thinner coats, and follow mixing directions exactly.
Uneven appearance: Inconsistent application, dirty surface under the sealer, or lap marks from the roller. A second coat can even it out. Concrete varies naturally—some imperfection is normal.
Cost and DIY vs. Hiring
DIY materials for a 400 sq ft driveway: penetrating sealer runs $50-100 (2 gallons), acrylic runs $60-120, epoxy runs $100-200. Tools cost $50-100 one-time. Prep is 2-4 hours, application is 2-4 hours, cure is 24-72 hours.
Professionals charge $0.25-0.50 per sq ft for penetrating sealer, $0.35-0.75 for acrylic, $0.50-1.00 for epoxy. For that 400 sq ft driveway: $100-200 for penetrating, $140-300 for acrylic, $200-400 for epoxy. They handle cleaning, application, materials, and usually offer warranty.
Pro Tips
Test first. Apply sealer to a small, hidden spot, let it fully cure, and check the result. Mistakes on small areas are better than mistakes on the whole driveway.
Don't seal expansion joints. They exist so concrete can move. Sealing them prevents movement, which cracks the concrete. Mask them with painter's tape before sealing, or use caulk or backer rod.
Apply thin coats. Multiple thin coats work better than one thick coat. Thick coats pool, drip, and don't penetrate evenly. Two coats is typical for penetrating sealers, 2-3 for film-forming.
Weather matters. Apply in 60-80°F, overcast conditions. No direct sun, no rain for 24+ hours. Wind blows debris onto wet sealer. Hot sun dries it too fast and causes bubbles.
Buy quality sealer. Cheap sealer at $20/gallon lasting 1 year is $20/year cost. Quality sealer at $50/gallon lasting 3 years is $17/year. Better performance and longer life for less annual cost.
Next Steps
Ready to seal your concrete?
Was this article helpful?
Your feedback helps us improve our content.
Related Articles
Concrete Driveway Cleaning Guide: Remove Oil Stains, Tire Marks, and Algae
Professional concrete driveway cleaning techniques. Remove oil stains, tire marks, algae, and grime. Surface sealing, restoration, and long-term protection strategies.
Patio and Walkway Cleaning Guide: Concrete, Pavers, and Stone
Clean patios and walkways safely: concrete, pavers, stone, and brick surfaces. Protect landscaping, avoid damage, restore appearance.
Stain Removal Guide: Toughest Stains and How to Remove Them
Remove tough stains: oil, rust, grease, paint, and organic stains from concrete, siding, and wood. Professional stain removal techniques and chemical recipes.