
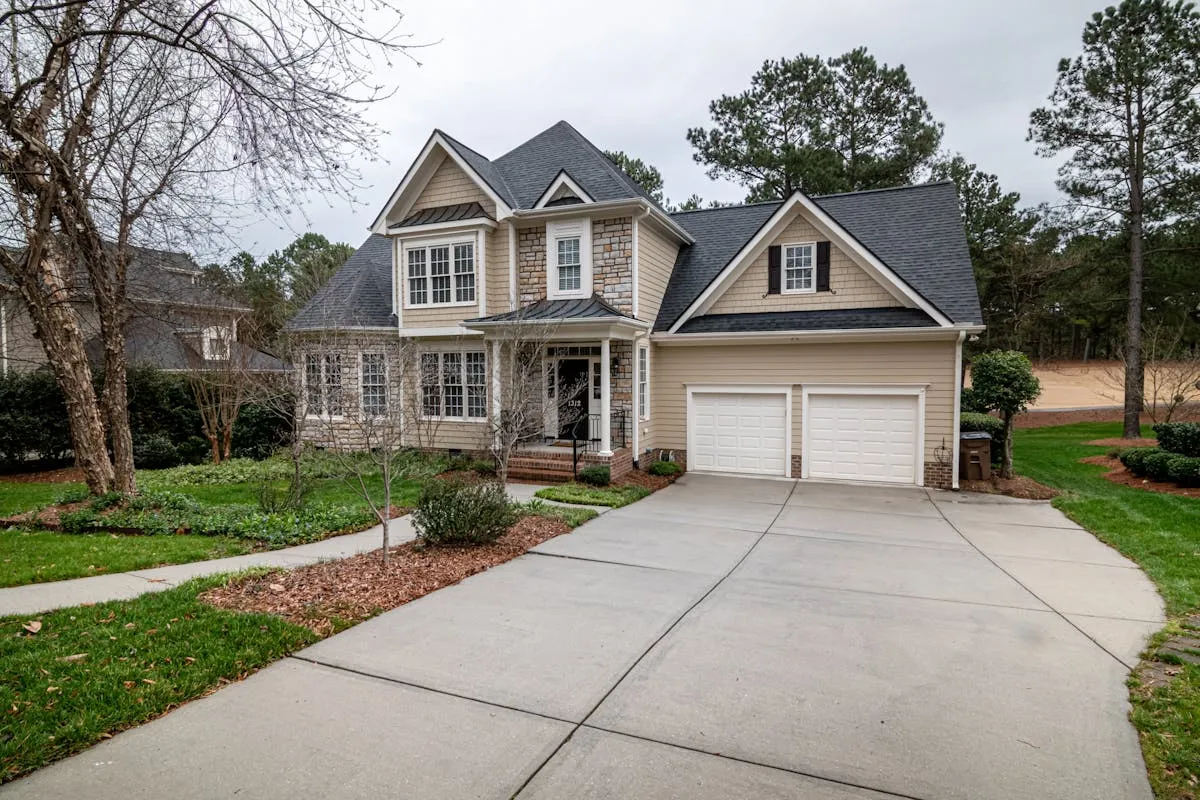
Sidewalk and Walkway Cleaning for Homeowners and Contractors
Clean sidewalks and walkways professionally: proper pressure, technique, and chemicals for concrete and paver surfaces. Remove algae, stains, and gum while protecting landscaping.
Quick Answer
Sidewalks and walkways need regular cleaning to prevent slippery algae buildup and maintain curb appeal. Use 2,000-2,500 PSI for concrete, white or green nozzle, with 1% sodium hypochlorite and surfactant for organic growth. Apply chemicals, let dwell 10 minutes, then rinse with surface cleaner or wand. Protect adjacent landscaping with pre-saturation and tarps. Clean annually for maintenance, more often in shaded or humid areas. For pavers, use lower pressure (1,500-2,000 PSI) to avoid blowing out sand joints.
Key Takeaways
- Surface cleaners are ideal - Fast, even cleaning for long straight walkways
- Protect landscaping - Pre-saturate plants and use tarps to prevent chemical damage
- Watch for trip hazards - Uneven sections, raised cracks, and lifting pavers get worse with water pressure
- Clean annually minimum - Regular cleaning prevents deep organic penetration
- Work with drainage - Clean and rinse in the direction water naturally flows
Understanding Sidewalks and Walkways
Sidewalks and walkways take constant abuse. Foot traffic grinds dirt into the surface. Landscape irrigation and rain create perfect conditions for algae and mold—especially in shaded areas between houses. Tree canopies drip tannins. Leaves and debris trap moisture against the surface. Cars drip oil where driveways meet sidewalks. Nearby roofs splash minerals. And of course, the infamous chewing gum.
Unlike driveways, sidewalks have special challenges. They’re often narrow—using a surface cleaner requires care to avoid hitting surrounding landscaping. They abut grass and planting beds that need protection. They have expansion joints that can trap debris. Public sidewalks (between your property and street) may have HOA or city regulations about cleaning methods.
A clean sidewalk improves curb appeal instantly. It’s safer—algae on shaded walkways is slippery and dangerous. And regular maintenance prevents organic growth from penetrating deep, making each cleaning easier.
The Damage You Can Do
Landscaping DamageThis is the most common mistake. Chemical overspray kills grass and burns shrubs. Runoff from high-volume rinsing floods and drowns plants. You spend a weekend cleaning a sidewalk and a month regretting it as you watch your landscaping die back.
Blowing Out JointsConcrete sidewalks have control joints (the lines cut across sections). Paver walkways have sand joints. High pressure directly on these lines blows out material. Concrete joints get wider and collect more debris. Paver joints lose sand and become uneven.
Revealing AggregateOn broom-finished or exposed aggregate concrete, aggressive cleaning wears away the surface and reveals more stone aggregate. The texture changes. It looks inconsistent. Can’t be fixed—you’d need to resurface.
Water Intrusion IssuesSidewalks often abut house foundations. Excessive water directed toward the house can cause foundation issues, basement moisture, and crawl space problems. Always work away from structures.
Trip Hazard WorseningIf a sidewalk section has raised edges or uneven settling, high-pressure water can worsen the problem. Water gets under the slab, freeze-thaw cycles lift it more. You’re creating a bigger problem than you started with.
Equipment for Sidewalks
Pressure Washer2,000-3,000 PSI and 2.0-2.5 GPM for concrete sidewalks. For pavers, dial it back to 1,500-2,000 PSI. Adjustable pressure is useful—you can dial down for delicate areas.
Surface CleanerA 16-20 inch surface cleaner is ideal for straight sidewalk sections. It’s 3-4x faster than wand cleaning and leaves no stripes. Look for one with a splash guard—it contains spray and protects nearby landscaping.
For narrow sidewalks (under 3 feet wide), a 12-15 inch surface cleaner is more maneuverable.
NozzlesWhite (40°) nozzle for general cleaning and rinsing. Green (25°) nozzle for stubborn stains. Never yellow (15°) or red (0°) on sidewalks—unnecessary and risky near landscaping.
Chemical ApplicationDownstream injector for efficient pre-treatment. A pump sprayer (2-3 gallon) gives more control for spot treatments and working near landscaping.
Protective EquipmentTarps to cover adjacent grass and planting beds. Garden hose to pre-saturate landscaping. Sand snakes or water dams to control runoff direction.
Chemical Solutions
General CleaningFor typical sidewalk grime, algae, and light stains: 1% sodium hypochlorite (SH) with surfactant. That’s 12 ounces of 12.5% SH per 5 gallons water, plus 2-4 ounces surfactant (Elemonator or equivalent).
This mix kills algae and mold, breaks down dirt, and cleans effectively. SH breaks down harmlessly—becomes salt and water—which is important near landscaping.
Heavy Organic GrowthFor shaded sections between houses with thick algae buildup: 1.5% SH (18 ounces per 5 gallons) with extra surfactant (4-6 ounces). Let it dwell 15-20 minutes. The extra surfactant helps penetrate the growth.
Specific Stains- Gum: Heat with hot water (180°F+) if available, then scrape with putty knife. Apply degreaser, let dwell 5 minutes, pressure wash with white nozzle at 12+ inches. Stubborn gum might need multiple passes.
- Oil stains (driveway intersections): Laundry detergent (1 cup per gallon) or commercial degreaser. Apply directly, let dwell 10-15 minutes, re-rinse that area.
- Rust from furniture: Oxalic acid cleaner, 4-6 ounces per gallon. Apply carefully—don't get it on surrounding grass or plants. Let dwell 15-20 minutes, rinse thoroughly.
- Tannin stains from trees: Sodium percarbonate cleaner (oxygen bleach), 6-8 ounces per gallon. Apply, let dwell 15 minutes, rinse.
For paver walkways, use the same chemicals but be aware that sand joints may wash out. Plan to re-sand after cleaning if needed. Polymeric sand joints hold up better than regular sand.
Preparation
Clear the AreaRemove all obstacles—trash cans, potted plants, decor, toys, hoses. Sweep thoroughly to remove loose debris, leaves, and sticks. This prevents them from becoming projectiles and ensures chemicals contact the surface evenly.
Protect LandscapingGrass and planting beds alongside sidewalks are vulnerable. Pre-saturate all nearby plants with water before covering—saturated plants resist chemical damage better. Cover with tarps, weighing down edges so wind doesn’t expose them.
If you can’t cover, at least pre-saturate thoroughly and keep plants wet during the job. Mist them periodically to dilute any chemical drift.
Identify Problem AreasNote where algae is heaviest (usually shaded sections, between houses, under tree canopies). Look for oil spots near driveways. Identify gum deposits. Check for trip hazards—raised sections, cracks, lifting pavers. Mark these mentally so you approach them carefully.
Check DrainageObserve which way water naturally flows. You’ll want to work in that direction when cleaning and rinsing. Never push water toward building foundations or into areas that’ll flood.
Weather CheckOvercast skies, 60-75°F, low wind, no rain for 4+ hours. Avoid midday sun—chemicals dry too fast. Don’t clean if freezing temps expected within 24 hours—water in cracks expands and damages.
The Cleaning Process
For Concrete Sidewalks with Surface CleanerPre-treat with chemicals: Apply your SH mix with downstream injector or pump sprayer. Start at one end and work to the other, applying evenly. Work in 10-15 foot sections so chemicals don’t dry.
Dwell: Let chemicals work for 10 minutes (standard) to 15 minutes (heavy growth). If surface starts drying, mist with water—don’t let it dry out.
Surface clean: Start at the same end you applied chemicals. With surface cleaner, make passes with 50% overlap. Move at a steady pace—not too fast (incomplete cleaning) or too slow (waste of time and water). The spray bars should stay about 1-2 inches above the surface—don’t press down.
Rinse edges: Surface cleaners leave a 1-2 inch perimeter they can’t reach. Hand-rinse these areas with white nozzle, staying 12+ inches back. Be careful near landscaping—angle spray away from plants.
Final rinse: Go over the entire sidewalk with white nozzle to ensure no chemical residue. No suds, no foam, runoff should be clear.
Same process but use white wand instead of surface cleaner for more control. Stay 12-18 inches from surface. Work in deliberate passes with 50% overlap. Move constantly—never hold still. Use green nozzle only for stubborn stains, staying 18+ inches back and making quick passes.
Post-Clean Inspection
Look for missed spots. Surface cleaners sometimes leave a thin line in the center—make a quick pass with white wand down the middle if needed. Check for chemical residue (especially in textured areas). Rinse again if needed.
Remove tarps from landscaping and rinse plants again with plain water to remove any chemical residue.
Problem-Solving Specific Issues
Chewing Gum RemovalGum is the sidewalk curse. It’s stubborn—significant amounts can take hours.
Best approach: Heat softens it. If you have a hot water pressure washer (180°F+), spray gum with hot water. It softens. Scrape with putty knife while warm. Most comes right off.
What remains: Apply degreaser (laundry detergent solution or commercial gum remover). Let dwell 5-10 minutes. Pressure wash with white nozzle at 12+ inches. Might need 2-3 passes.
For extreme cases, use a gum removal tool (essentially a super-hot steam cleaner). It melts gum instantly. Pros invest in these—DIYers might rent one.
Algae in Shaded SectionsThe area between two houses where the sun never hits—algae grows thick here. Standard cleaning might not get it all.
Solution: Stronger chemical (1.5% SH), more surfactant, longer dwell (15-20 minutes). Agitate with stiff broom during dwell to work chemicals into algae. Re-apply chemical if needed after first rinse. Some shaded sections need two rounds.
Oil at Driveway IntersectionWhere driveways meet sidewalks, cars drip oil. Old oil stains are deep-set.
Apply degreaser directly to stain. Let dwell 15-20 minutes. Re-apply if it dries out. For really stubborn stains, sprinkle absorbent (kitty litter, oil-dri) after degreaser, let it sit, sweep up, then pressure wash. The absorbent wicks oil out.
Multiple treatments might be needed. Set-in oil of years doesn’t come out in one round.
Trip Hazards and Raised SectionsRaised concrete edges from tree roots or settling. Don’t blast these with high pressure—water gets underneath and worsens the problem.
Clean around raised edges carefully with white nozzle at 18+ inches. Don’t direct spray under the slab. After cleaning and drying, consider having the section raised or ground down by a professional. Real safety issue.
Weeds Growing in CracksWeeds love sidewalk cracks and expansion joints. Pull by hand before cleaning. What remains: spray with weed killer (glyphosate or similar), let it work for 24-48 hours, then pressure wash. The dead weeds come out much easier.
Common Problems and Solutions
Stripes from Surface CleanerCaused by uneven ground or inconsistent speed. Overlap passes more (75% instead of 50%). Slow down your pace. If stripes persist, make a quick pass with white wand perpendicular to the stripes to blend.
Plants Turning BrownChemical drift or runoff damage. Immediate action: flush area with lots of water. Soak the soil daily for 1-2 weeks. Some plants bounce back, some don’t. Prevention: better tarps, more pre-saturation, work further from plants, use lower chemical concentration.
Sand Joints Washing Out (Pavers)Normal to some degree. After cleaning and drying, sweep new sand into joints. Use polymeric sand for durability—it hardens when misted and resists washing out. Plan on re-sanding every 2-3 cleanings.
Sidewalk Looks Dirty Again QuicklyIncomplete rinsing left chemical residue that attracts dirt. Re-rinse thoroughly with white nozzle, multiple passes. Check for suds—keep rinsing until none. Consider using a wood brightener (oxalic acid) as a final rinse—it neutralizes residue and brightens concrete.
Water Pooling on SidewalkPoor drainage or settled sections. Not a cleaning issue, but you’ll notice it more after cleaning when the surface is clean. May need drainage correction or mudjacking to level settled sections.
Pro Tips
Use Surface Cleaner When PossibleOn straight sidewalk sections, surface cleaners are 3-4x faster than wanding and leave no stripes. A 20-inch surface cleaner covers most residential sidewalks in 2-3 passes. Huge time saver with better results.
Work with the DrainageClean and rinse in the direction water naturally flows. If the sidewalk slopes toward the street, start at the far end and work toward the curb. This prevents water from pooling where you don’t want it.
Clean When Landscaping Is DampEarly morning when grass is still wet from dew is ideal. Wet grass doesn’t attract chemical drift as much as dry grass. Plus, cooler temperatures mean chemicals don’t dry as fast.
Pre-Treat Heavily Shaded AreasThe shaded section between houses always has more algae. Apply heavier chemical there, let it dwell longer (15-20 minutes), maybe re-apply after first rinse. Give it extra attention—it’ll come back faster than sunny areas.
Gum Removal: Heat Is Your FriendIf you have access to hot water, use it on gum. 180°F+ water softens the gum instantly. Scraping is 10x easier. Cold water pressure washing on gum is frustrating and slow.
Re-Sand Pavers ProactivelyIf you have paver walkways, keep a bag of polymeric sand on hand. After cleaning, sweep sand into any joints that need it, mist lightly. Takes 10 minutes and keeps the walkway looking perfect.
DIY vs. Hiring a Pro
Hire a professional for large jobs (500+ linear feet), multi-property projects (HOA common areas), or when you have extensive gum removal, heavy oil staining, or delicate landscaping that’s already stressed.
Professionals charge $0.50-1.50 per linear foot for sidewalk cleaning. A 100-foot sidewalk runs $50-150. Gum removal may be extra: $1-2 per spot. Most have minimum charges of $100-150.
DIY costs $40-80 in chemicals for typical residential job. Rental pressure washer: $80-120/day. Time: 2-4 hours for standard sidewalk. Risk: damaging landscaping (costly replacement), creating trip hazards, or wasting water/chemicals with poor technique.
Maintenance
Sweep sidewalks weekly to remove debris and dirt that traps moisture. Address oil spills immediately—absorb with kitty litter, then clean with degreaser. Pull weeds from cracks as soon as they appear.
Clean annually for most climates. Every 6 months in shaded, humid areas. Regular cleaning prevents deep organic penetration and makes each job easier.
Inspect for trip hazards, cracks, and settling. Address these issues promptly—they’re safety liabilities and worsen with time.
Next Steps
- [Concrete Driveway Cleaning](/surfaces/driveway-cleaning)
- [Paver Cleaning and Re-Sanding](/surfaces/paver-cleaning-resanding)
- [Surface Cleaner Technique](/techniques/surface-cleaner-technique)
- [Plant Protection During Chemical Application](/chemicals/plant-protection)
Was this article helpful?
Your feedback helps us improve our content.
Related Articles
Concrete Driveway Cleaning Guide: Remove Oil Stains, Tire Marks, and Algae
Professional concrete driveway cleaning techniques. Remove oil stains, tire marks, algae, and grime. Surface sealing, restoration, and long-term protection strategies.
Paver Cleaning and Re-Sanding: The Complete Process
Learn how to clean concrete pavers and re-sand joints properly. Protect your paver investment with the right pressure washing techniques, sand types, and compaction methods.
Surface Cleaner Technique: Perfect Even Concrete Cleaning
Master pressure washer surface cleaners: technique tips, speed patterns, and how to avoid stripes. Get professional results on driveways, patios, and flatwork.
House Wash Mix Recipes: Professional Ratios for Every Surface
Exact pressure washing chemical mix recipes: SH concentrations, surfactant ratios, and application methods for vinyl siding, stucco, brick, and more.