
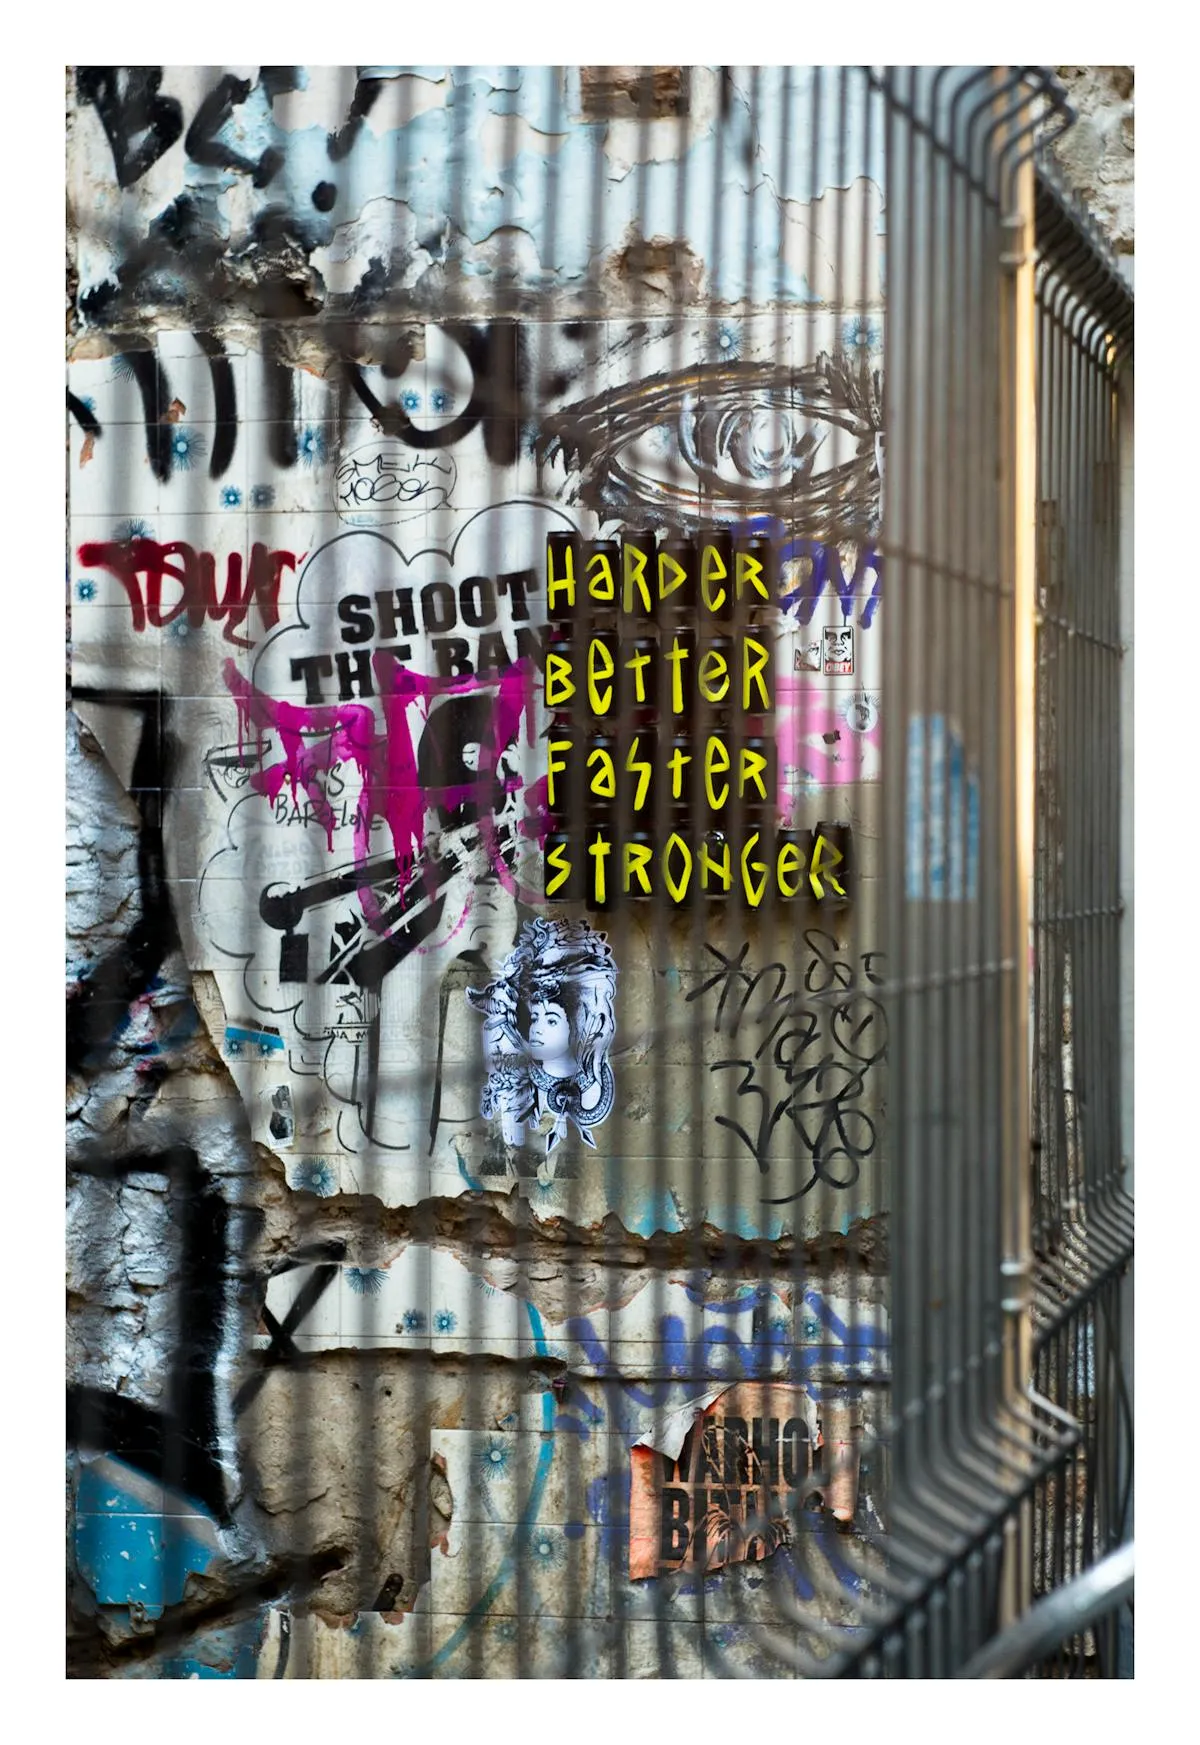
Graffiti Removal from Every Surface Type: Complete Guide
Professional graffiti removal techniques for brick, concrete, metal, wood, glass, and plastic. Learn safe chemical selection, pressure washing methods, and when to call a professional for stubborn vandalism.
Quick Answer
Match the removal method to surface type and graffiti age. Use citrus-based removers for most surfaces (safer than solvents), let dwell 5-10 minutes, then pressure wash with 2,500-3,000 PSI at 15-degree nozzle. Porous surfaces (brick, concrete) may require multiple applications. Always test remover on inconspicuous area first - some surfaces react badly to certain chemicals.
Key Takeaways
- Match remover to surface - what works on brick damages plastic
- Fresh graffiti removes easier - address within 48 hours if possible
- Multiple light applications beat one heavy - prevents surface damage
- Test first, always - chemical reactions can permanently damage surfaces
- Patience pays off - rushing causes more damage than the graffiti itself
Understanding Graffiti and Vandalism
Graffiti removal is tricky because you’re dealing with two problems: the graffiti material and the surface underneath. Spray paint, markers, and etching all require different approaches. What removes paint from brick might permanently damage plastic or etch glass.
I’ve seen property owners cause thousands in damage trying to remove $50 worth of graffiti. Acid-based brick cleaner that strips paint also etches the surrounding brick. Solvent-based remover that dissolves spray paint also melts plastic. The key is matching removal method to both graffiti type AND surface material.
Graffiti materials:
- Spray paint - most common, bonds to many surfaces
- Markers - permanent markers, paint pens
- Etching - scratched into glass or smooth surfaces
- Stickers and paste-ups - adhesives residue after removal
- Latex paint - brush-on paint for larger pieces
Surface types:
- Porous - brick, concrete, unsealed wood (absorbs paint)
- Non-porous - metal, glass, plastic (paint sits on surface)
- Semi-porous - sealed concrete, painted wood (intermediate)
Understanding both variables determines your approach.
Equipment and Chemicals Needed
Pressure Washer Requirements
For graffiti removal:
- PSI: 2,500-3,500 (higher than general cleaning)
- GPM: 2.5-4 (higher flow helps flush loosened paint)
- Nozzle degrees: 0, 15, 25, 40 (all may be needed)
- Hot water (optional but very helpful for stubborn paint)
Graffiti removal often requires higher pressure than general cleaning. Paint bonds tenaciously and you need enough pressure to break that bond without damaging the underlying surface.
Removal Chemicals by Type
1. Citrus-Based Removers (safest, most versatile)
- Best for: General use, most surfaces, sensitive areas
- Active ingredient: D-limonene (citrus oil)
- Dwell time: 5-10 minutes
- Pros: Biodegradable, low odor, safe for most materials
- Cons: Slower acting than solvent-based
- Cost: Moderate
- Top pick: Soy-based or citrus-based commercial graffiti removers
2. Solvent-Based Removers (aggressive, effective)
- Best for: Stubborn spray paint, industrial surfaces
- Active ingredients: Xylene, acetone, methylene chloride
- Dwell time: 2-5 minutes
- Pros: Fast acting, removes tough paint
- Cons: Toxic fumes, damages some plastics, environmental concerns
- Cost: Moderate
- Use with: Extreme ventilation, protective equipment
3. Alkaline Paint Strippers (heavy-duty)
- Best for: Thick paint, multiple layers, latex paint
- Active ingredient: Sodium hydroxide or potassium hydroxide
- Dwell time: 15-30 minutes
- Pros: Removes heavy buildup
- Cons: Caustic, can damage some surfaces, requires thorough rinsing
- Cost: Low to moderate
- Not for: Use on painted surfaces you want to preserve
4. Graffiti Wipes (convenience)
- Best for: Small spots, marker removal, quick response
- Pre-moistened: With remover solution
- Pros: Convenient, no mixing, good for spot cleaning
- Cons: Expensive for large areas
- Cost: High per square foot
- Keep in stock: For immediate response to new graffiti
5. Specialty Removers
- Glass etching filler - fills scratches, not a remover
- Wood-safe stripper - won’t raise wood grain
- Plastic-safe remover - won’t melt or craze plastic
- Masonry-safe - won’t damage brick or concrete
Application Tools
- Pump sprayer - for liquid removers
- Paint roller - for thick gels and pastes
- Stiff brush - agitating remover into porous surfaces
- Plastic scrapers - removing loosened paint
- Microfiber cloths - wiping small areas
- Steel wool (0000 grade only) - for stubborn spots on durable surfaces
- Wire brushes - for masonry only (never metal or wood)
Safety Considerations
⚠️ CRITICAL WARNING: Graffiti removers can be hazardous chemicals.
Personal Protective Equipment (PPE)
- Safety glasses - splashes are common
- Gloves - chemical-resistant (nitrile or neoprene)
- Respirator - for solvent-based removers
- Long sleeves and pants - skin protection
- Ventilation - work outdoors or with serious airflow
Chemical Safety
- Read every label - different removers have different hazards
- Test first - small inconspicuous area
- Never mix chemicals - especially bleach and ammonia
- Store properly - away from children and pets
- Dispose of correctly - paint chips and chemical residue are hazardous waste
Site Safety
- Contain runoff - graffiti removers are toxic to plants and waterways
- Protect surrounding areas - cover plants, surfaces, storm drains
- Watch for overhead hazards - power lines, especially with extension wands
- Use caution on ladders - wet chemicals + ladders = dangerous
Legal Considerations
- Document before cleaning - photos for police reports
- Check local ordinances - some cities offer free graffiti removal
- Know property boundaries - don’t clean off your property
- Report vandalism - police track patterns and offenders
Removal Techniques by Surface Type
Brick and Masonry
Why brick is tricky:
- Porous - paint absorbs into pores
- Mortar is softer than brick - chemicals affect each differently
- Some bricks are softer than others - test first
- Acid-based cleaners dissolve mortar - avoid
Removal method:
- Test remover on inconspicuous brick - ensure no damage
- Apply citrus-based remover - pump sprayer or roller
- Let dwell 7-10 minutes - don’t let it dry
- Agitate with stiff brush - work into pores
- Pressure wash with 15-degree nozzle - 2,500-3,000 PSI, 4 inches from surface
- Rinse thoroughly - remove all chemical residue
- Repeat if needed - stubborn graffiti takes multiple applications
For deeply absorbed paint:
- Multiple light applications better than one heavy
- May need alkaline stripper for thick paint
- Some shadowing may remain - acceptable on older brick
- Consider professional for historic masonry
Never use:
- Wire brushes on soft brick - damages surface
- Muriatic acid - dissolves mortar
- Metal scrapers - leaves metal marks
- Excessive pressure - blows out mortar joints
Concrete and Stucco
Characteristics:
- Very porous - paint absorbs deep
- Rough texture - paint hides in crevices
- Stucco is fragile - pressure can damage it
- Sealed concrete easier to clean than unsealed
Concrete removal method:
- Apply graffiti remover - citrus or alkaline based
- Let dwell 10-15 minutes - concrete absorbs slowly
- Agitate with stiff brush - work into pores
- Pressure wash with 15-degree nozzle - 3,000 PSI, 4 inches from surface
- Rinse thoroughly - concrete holds chemicals
- Repeat as needed - shadowing common on porous concrete
Stucco removal method:
- Test first - stucco is fragile and varies
- Use gentle remover - citrus-based, not solvent
- Low pressure - 1,500-2,000 PSI max
- Wide nozzle - 25 or 40-degree
- Don’t get close - stay 8+ inches away
- Hand wash delicate stucco - synthetic EIFS requires extreme care
For oil-based paint on concrete:
- May need paint stripper (alkaline-based)
- Let stripper work 20-30 minutes
- Remove with plastic scraper
- Pressure wash residue
- Multiple applications likely
Metal Surfaces
Metal types matter:
- Raw steel: Rusts if stripper removes protective coating
- Painted metal: Don’t strip the paint, just the graffiti
- Aluminum: Can be stained by harsh chemicals
- Copper and brass: Easily damaged by acids
Painted metal removal:
- Test remover first - some damage paint
- Use gentle remover - citrus-based preferred
- Apply sparingly - don’t soak the area
- Short dwell time - 3-5 minutes max
- Wipe with cloth - don’t pressure wash if possible
- Rinse gently - garden hose, not pressure washer
Raw metal removal:
- Apply remover - solvent-based okay on raw metal
- Let dwell 5-7 minutes
- Scrub with steel wool - 0000 grade
- Wipe or rinse - depending on remover
- Reapply protective coating - oil or paint after cleaning
For aluminum siding:
- Use aluminum-safe remover only
- Test first - aluminum stains easily
- Rinse thoroughly - removers can leave white residue
- Consider professional for extensive graffiti on siding
Wood Surfaces
Wood complications:
- Paint absorbs into grain
- Chemicals raise wood grain
- Staining from removers common
- Sealed wood easier than raw wood
Painted/stained wood removal:
- Use wood-safe stripper - won’t damage finish
- Apply sparingly - don’t soak
- Let dwell 5-7 minutes - wood absorbs chemicals
- Wipe with cloth - don’t pressure wash if possible
- Light sanding - if shadowing remains
- Touch up finish - stain or paint as needed
Raw wood removal:
- Apply remover - citrus or solvent-based
- Let dwell 7-10 minutes
- Scrub with nylon brush - follow wood grain
- Pressure wash lightly - 1,500 PSI, 40-degree nozzle
- Allow to dry - wood holds moisture
- Sand if needed - remove raised grain
- Refinish - apply stain or sealer
Never use:
- Wire brushes on wood - leaves marks
- Excessive water - raises grain, warps wood
- Harsh strippers - damage wood fibers
Glass and Windows
Etching vs. surface paint:
- Surface paint: Spray paint on glass - removable
- Etching: Scratches IN the glass - not removable, must be filled
Surface paint removal:
- Razor blade scraper - single-edge razor in holder
- Work at shallow angle - 30-45 degrees
- Spray with water or glass cleaner - lubricates
- Scrape gently - let the blade do the work
- Wipe clean - remove paint chips
- Graffiti wipes - for marker, spray with remover, wipe
For stubborn paint on glass:
- Apply acetone or nail polish remover
- Let dwell 1-2 minutes
- Scrape with razor blade
- Repeat if needed
- Clean glass normally after
Etched glass:
- Cannot be removed - scratches are in the glass
- Options: Replace glass or use etching filler
- Etching filler: Polymer product that fills scratches
- Applied with squeegee, levels out surface
- Makes etching less visible but not invisible
Plastic windows:
- NO razor blades - will scratch
- Use plastic-safe remover only
- Test first - some plastics craze from chemicals
- Consider replacement for extensive damage
Plastic and Vinyl
Plastic vulnerabilities:
- Chemicals can melt or craze (spiderweb cracks)
- Solvents dissolve some plastics
- Paint bonds well to some plastics
- Porous plastics absorb paint
Identification is critical:
- Test remover on small area first
- Some plastics can’t be cleaned without damage
- When in doubt, call a professional
Removal method:
- Test, test, test - inconspicuous area
- Use plastic-safe remover - citrus or soy-based
- Apply with cloth - don’t soak
- Gentle agitation - soft cloth or sponge
- Short dwell time - 2-3 minutes
- Wipe, don’t rinse - water drives paint into plastic
- Repeat if needed - patience over force
For PVC vinyl:
- Some vinyls can be cleaned, others can’t
- Test first - vinyl varies widely
- Avoid solvents - most damage vinyl
- Consider professional for expensive vinyl features
Playground Equipment
Special considerations:
- Child-safe chemicals only
- Non-toxic residues
- Preserve coatings and finishes
Removal method:
- Use child-safe remover - citrus-based
- Avoid harsh chemicals - no solvents near playgrounds
- Test on plastic components - some can’t be cleaned
- Hand wash when possible - gentler than pressure washing
- Rinse extremely thoroughly - kids touch everything
- Consider professional - for extensive playground graffiti
See Playground Equipment Cleaning for detailed child-safe cleaning guidelines.
Special Situations and Challenges
Multiple Layers of Graffiti
Old paint under new paint:
- Requires multiple applications
- Strip from top layer down
- Each layer may need different remover
- Patience - this takes time
Technique:
- Remove top layer - standard removal process
- Assess remaining paint - may need different approach
- Apply stronger remover if needed - for older paint
- Extended dwell time - older paint is harder
- Repeat until clean - may take 5-10 applications
Shadowing and Ghosting
What causes shadowing:
- Paint absorbed into porous surface
- Incomplete removal
- Chemical staining from remover
- Especially visible on light-colored surfaces
Reduction techniques:
- Multiple light applications vs. one heavy
- Extended dwell times
- Aggressive agitation on porous surfaces
- Professional-strength removers
Accept some shadowing:
- On brick and concrete, 100% removal often impossible
- Shadowing fades over time
- Complete removal sometimes causes more damage
- Balance between removal and surface preservation
High-Up and Hard-to-Reach Areas
Safety first:
- Use proper ladder safety
- Consider extension wands for pressure washer
- Professional for multi-story work
- Don’t risk falls for DIY removal
Technique for high areas:
- Use extension wand with pressure washer
- Lower pressure for greater control
- May need to work from lift for tall buildings
- Professional often cheaper than equipment rental
Temperature Considerations
Hot weather:
- Removers dry too fast
- Work in smaller sections
- Keep surface wet with remover
- Early morning or late evening best
Cold weather:
- Removers work slowly
- Paint is harder to remove
- May need extended dwell times
- Some removers don’t work below freezing
Ideal conditions:
- 60-80°F
- Overcast or indirect sun
- Low wind
- Surface not hot to touch
Common Mistakes to Avoid
1. Not testing first
- Chemical reactions permanent on some surfaces
- Right approach: Always test inconspicuous area
2. Using too much pressure
- Damages surface more than graffiti
- Right approach: Start with low pressure, increase if needed
3. One heavy application vs. multiple light
- Doesn’t work as well
- Damages surface
- Right approach: Multiple light applications
4. Wrong remover for surface
- Melts plastic, etches glass, damages wood
- Right approach: Match remover to surface type
5. Rushing dwell time
- Remover needs time to work
- Right approach: Follow label dwell times
6. Not rinsing thoroughly
- Chemical residue damages surface over time
- Right approach: Rinse until water runs completely clear
7. Giving up too soon
- Some graffiti takes 5-10 applications
- Right approach: Be patient, work progressively
When to Call a Professional
Consider professional help when:
- Surface is historic or valuable - risk of damage
- Graffiti is extensive - large areas or multiple layers
- Access is difficult - multi-story, confined spaces
- Previous DIY attempts failed - may have made it worse
- Specialty surfaces - glass etching, expensive plastics
- Time constraints - professionals work faster
Professional advantages:
- Experience with different surfaces and graffiti types
- Commercial-grade chemicals and equipment
- Insurance (if they damage something, they pay)
- Faster and often more effective
Cost consideration:
- Get quotes first
- Factor in your time and equipment rental
- Professional may be cheaper than DIY damage
Prevention: Discouraging Future Graffiti
Immediate removal:
- Remove graffiti within 24-48 hours
- Quick removal discourages repeat offenders
- Taggers want their work to be seen
Protective coatings:
- Anti-graffiti coatings (sacrificial or permanent)
- Sacrificial coatings: Remove graffiti, coating comes off too, reapply
- Permanent coatings: Graffiti wipes off without damaging coating
- Good for high-risk areas
Environmental design:
- Improve lighting - graffiti prefers dark areas
- Remove hiding spots - trim vegetation
- Motion-activated lighting - startles taggers
- Security cameras - deterrent
Rapid response program:
- Some cities offer free graffiti removal
- Report immediately for faster service
- Keep remover in stock for immediate DIY response
Next Steps
- Brick Exterior Washing: Mortar-Safe Techniques - For brick walls
- Sidewalk and Walkway Cleaning - For concrete surfaces
- Awning and Canvas Cleaning - If graffiti is on fabric
- The 3-Step Wood Restoration Process - For wood fence or siding graffiti
People Also Ask
What is the best graffiti remover for brick?
Citrus-based or soy-based graffiti removers are best for brick. They’re effective yet won’t damage brick or mortar like harsh chemicals. Apply with pump sprayer, let dwell 7-10 minutes, agitate with stiff brush, then pressure wash with 15-degree nozzle at 2,500-3,000 PSI. Multiple light applications work better than one heavy application. Avoid wire brushes (damages brick), muriatic acid (dissolves mortar), and metal scrapers (leaves metal marks). For deeply absorbed paint, some shadowing may remain - this is acceptable and better than damaging the brick trying to achieve 100% removal.
How do you remove permanent marker from surfaces?
For non-porous surfaces (metal, glass, sealed surfaces): Apply rubbing alcohol or acetone with cloth, let dwell 30 seconds, wipe clean. Repeat if needed. For porous surfaces (brick, concrete, unsealed wood): Use graffiti remover, let dwell 5-10 minutes, scrub with brush, rinse or pressure wash. Marker on glass: Razor blade scraper at shallow angle with water lubrication. Marker on plastic: Test alcohol or remover first - some plastics craze from chemicals. For marker on painted surfaces: Test first - some removers strip paint along with marker. Graffiti wipes work well for small marker spots and are convenient to keep on hand.
Can you use paint thinner to remove graffiti?
Paint thinner (mineral spirits) can remove some graffiti but has limitations. Works on fresh spray paint on non-porous surfaces (metal, glass). Less effective on porous surfaces (brick, concrete) - paint absorbs too deeply. Can damage some plastics and finishes. Stronger odor than citrus-based removers. Flammable - requires caution. Generally better to use dedicated graffiti removers - they’re formulated for this specific purpose and work more reliably. Paint thinner as a last resort when nothing else available, but test first and work in well-ventilated area.
How do you remove graffiti from stucco without damaging it?
Stucco is fragile - use extreme care. Test remover on inconspicuous area first. Use gentle citrus-based remover, not solvent-based. Apply with pump sprayer or roller. Let dwell 5-7 minutes only - don’t let dry. Hand wash with soft brush or sponge. If pressure washing, use low pressure (1,500 PSI max) with 25 or 40-degree nozzle. Stay 8+ inches away from surface. Don’t scrub hard - stucco scratches easily. Synthetic EIFS stucco is especially fragile - consider professional cleaning for these systems. Some shadowing may be unavoidable on stucco - accept it rather than damaging the surface trying for complete removal.
What takes spray paint off of plastic?
Some plastics can’t be cleaned without damage - always test first. Use citrus-based or soy-based removers only - avoid solvents which can melt plastic. Apply remover with cloth, don’t soak the plastic. Let dwell 2-3 minutes only. Wipe gently with soft cloth or sponge. Don’t scrub hard - you’ll scratch the plastic. Rinse with damp cloth - don’t pressure wash plastic with graffiti (water drives paint deeper). For inexpensive plastic items, replacement may be cheaper than professional removal. On expensive plastic features, call a professional - wrong chemical ruins the item.
How do you remove etching from glass?
True etching (scratches in the glass) cannot be removed - the damage is in the glass surface itself. Options: Replace the glass (expensive but complete solution) or use etching filler polymer. Etching filler: Apply with squeegee, fills in scratches, makes etching less visible but not invisible. Works best on light etching, heavy etching still visible. Durable but not permanent - may need reapplication. Surface paint on glass (not etching) can be removed with razor blade scraper and water or acetone. Determine if it’s surface paint or true etching before choosing removal method.
Does WD-40 remove graffiti?
WD-40 can remove fresh graffiti from some non-porous surfaces but isn’t ideal. Works on: Fresh spray paint on metal, glass, sealed surfaces. Less effective on: Porous surfaces, old graffiti, marker. Better alternatives exist: Citrus-based removers (safer, more effective), Solvent removers (faster, more aggressive), Graffiti wipes (convenient for spots). WD-40 as emergency graffiti remover when nothing else available. Spray on, let dwell 1-2 minutes, wipe clean. Works best on very fresh paint - within hours of application. Don’t rely on WD-40 for established graffiti or porous surfaces.
How much does professional graffiti removal cost?
Professional graffiti removal typically costs $2-5 per square foot for basic removal. Complex jobs (height, access, delicate surfaces) range $5-15 per square foot. Minimum service charges often $100-200. Factors affecting cost: Surface type (brick cheaper than delicate stucco), Graffiti age (fresh easier than old), Accessibility (ground level cheaper than second story), Extent (volume discount for large areas), Location (urban areas more expensive). DIY cost: Remover $20-50/gallon, equipment rental if needed, your time free. For small jobs, DIY cheaper. For large or difficult jobs, professional may be more cost-effective when you factor in your time and potential for DIY damage. Get multiple quotes for comparison.
How do you remove graffiti from historical brick?
Historical brick requires extreme care - softer than modern brick, more easily damaged. Test any remover on inconspicuous area - may need specialty remover. Use gentlest effective method - citrus-based, not harsh chemicals. Low pressure washing - 1,500-2,000 PSI max with 40-degree nozzle. Stay 12+ inches from surface. Extended dwell times - let remover work rather than forcing with pressure. Multiple light applications - don’t try to remove all at once. Accept some shadowing - complete removal may damage historical brick. Consider professional specializing in historical masonry - wrong method damages irreplaceable features. Check with local historical society for guidelines - may have specific requirements or preferred contractors.
Was this article helpful?
Your feedback helps us improve our content.
Related Articles
Sidewalk and Walkway Cleaning for Homeowners and Contractors
Clean sidewalks and walkways professionally: proper pressure, technique, and chemicals for concrete and paver surfaces. Remove algae, stains, and gum while protecting landscaping.
Brick Exterior Washing: Mortar-Safe Techniques and Efflorescence Removal
Complete guide to cleaning brick exterior walls: mortar-safe techniques, efflorescence removal, avoiding sandblasting damage, and proper pressure washing methods.
Awning and Canvas Cleaning Guide
Professional methods for cleaning fabric awnings, canvas covers, and shade structures. Learn safe techniques for removing mold, mildew, and stains while protecting waterproofing and fabric integrity.
The 3-Step Wood Restoration Process: Clean, Brighten, Seal
Complete wood deck restoration: clean with sodium percarbonate, brighten with oxalic acid, and seal with quality stain. Transform gray, neglected wood into beautiful outdoor space.