

Removing Tire Marks from Concrete
Get tire marks off concrete driveways and garages. Learn the right combination of heat, chemicals, and pressure to remove rubber marks without damage.
Key Takeaways
- Fresh marks remove easily — old baked-on marks are tough
- Heat softens rubber — hot water helps significantly
- Degreaser is your best chemical — cuts the rubber-concrete bond
- Turbo nozzle or surface cleaner — wand work takes forever
- Multiple passes may be needed — don't expect one-and-done
Understanding Tire Marks
How Tire Marks Happen
Tires leave marks on concrete through friction and heat. When tires skid, spin, or turn sharply, rubber deposits transfer to concrete. Hot tires leave more marks than cold tires.
Fresh marks sit on the surface. Over time, heat and sun bake the rubber into concrete pores. The older the mark, the harder it is to remove.
Types of Tire Marks
Scuff marks: Light surface transfer from normal turning. Usually light gray or black. Removal difficulty: Easy. Burnout marks: Heavy rubber deposit from spinning tires. Dark black, sometimes textured. Removal difficulty: Moderate. Baked-on marks: Old marks heat-set into concrete. Often dark brownish-black. Removal difficulty: Hard to Very Hard.Why They’re Stubborn
Rubber creates a mechanical bond with concrete texture. The rubber fills pores and irregularities of the concrete surface. Heat softens rubber and helps it penetrate deeper. You need to break that bond and physically remove the rubber.
Method 1: Hot Water + Degreaser (Best Overall)
Why This Works
Heat softens the rubber so it releases from concrete more easily. Degreaser cuts through oils and lubricants in the rubber compound and breaks the rubber-concrete bond. Pressure then blasts away the softened rubber.
What You’ll Need
- Hot water pressure washer (if available) OR access to hot water
- Heavy-duty degreaser (sodium hydroxide-based or professional concrete degreaser)
- Stiff bristle push broom or deck brush
- Surface cleaner or turbo nozzle (wand takes forever)
- Safety gear: goggles, gloves, long sleeves
Step-by-Step Process
- Sweep the area. Remove all loose debris. You don't want dirt grinding into concrete while you work.
- Pre-wet with hot water. If you have a hot water washer, pre-wet with hot water (180-200°F is ideal). If using cold water, wet the area anyway—concrete holds heat better when wet.
- Apply degreaser. Mix according to label directions (usually 10:1 to 20:1 with water). Apply liberally to tire marks. You want full coverage.
- Let it dwell. 5-10 minutes. Don't let it dry. If it's drying, mist with a little water or more degreaser.
- Agitate with a brush. Scrub tire marks with a stiff bristle brush. This works the degreaser into the rubber and starts loosening the bond.
- Apply heat (if cold washer). If you don't have hot water, pour hot water (as hot as you can get from a tap or water heater) over the area. You're trying to soften the rubber.
- Pressure wash. Use a surface cleaner for large areas or a turbo nozzle for targeted work. A white or green nozzle (40° or 25°) works, but it's slow. Make overlapping passes.
- Inspect and repeat. Most tire marks need 2-3 passes. Let concrete dry between passes so you can see what's left.
Pro Tips
Work in small sections. 5x5 foot areas for concentrated effort. Keep the heat on. If using hot water, work fast. Cold concrete sucks heat out of water quickly. Don't rush dwell time. The degreaser needs time to work. Let it sit. Multiple light passes beat one heavy pass. You're more likely to damage concrete with aggressive technique than with patient repetition.Method 2: Cold Water + Strong Degreaser
When to Use This Method
You don’t have a hot water washer, or you’re dealing with light scuff marks that don’t need heat. This method works—it just takes more passes and more elbow grease.
Process
Same as hot water method, but skip the heat steps. Use a stronger degreaser concentration (closer to 10:1 instead of 20:1). Increase dwell time to 10-15 minutes. Scrub more aggressively.
Expect to do 3-5 passes instead of 2-3. It’ll get there, but you’re working harder without the heat advantage.
Method 3: Mechanical Removal (For Stubborn Marks)
When Mechanical Makes Sense
You’ve done 3-4 chemical passes and the mark is still there. It’s baked-on old rubber that chemicals won’t fully touch. Time for mechanical removal.
Tools
- Floor buffer with black stripping pad (for garage floors)
- Angle grinder with wire cup wheel (aggressive)
- Hand-held wire brush (for small spots)
- Random orbital sander with coarse sandpaper (light duty)
Mechanical Process
- Chemical treatment first. Do one degreaser pass to soften what you can. Rinse and let dry.
- Start light. Try a floor buffer with a black pad first. It won't damage concrete and may be enough.
- Escalate if needed. Black pad not working? Move to a wire cup wheel on an angle grinder. Work in circular motions, don't stay in one spot.
- Watch the concrete. Mechanical removal is removing a thin layer of concrete. You will create a texture difference. Work carefully.
- Blend the area. After removing the tire mark, the spot will look different. Lightly sand or buffer the surrounding area to blend.
When to Stop Mechanical Removal
When you’re grinding through aggregate stones, you’ve gone too far. When you’ve created a noticeable depression, stop. When texture difference is worse than the tire mark, reconsider.
Some tire marks are permanent. Manage expectations.
Tire Mark Removal by Surface
Garage Floors
Garage floors are the easiest. The concrete is smooth, tire marks are usually fresh, and you can use aggressive methods.
Use hot water + degreaser. A surface cleaner makes quick work of it. For baked-on marks (old garage), a floor buffer with black pad works well.
Driveways
Driveways have exposed aggregate texture that holds rubber tighter. You’ll need more passes and more heat.
Watch for plants and landscaping—driveway runoff affects them. Use surface cleaner for open areas, wand for edges.
Parking Lots
Large areas, heavy traffic, old marks. This is professional work.
Use a hot water surface cleaner. Plan on 2-4 passes. For extremely old marks, some permanent staining is acceptable—manage expectations with property owner.
Chemical Options
Sodium Hydroxide (NaOH) Degreasers
Professional choice. Strong, effective, cuts rubber and oils. Requires caution—NaOH is caustic.
Follow label directions exactly. Wear full PPE. Rinse thoroughly. NaOH degreasers are the most effective for tire marks.
Citrus-Based Degreasers
D-Limonene products. Less aggressive, safer, but slower. Good for light marks or when you want a gentler approach.
Expect more passes and longer dwell times.
General Concrete Cleaners
Multi-purpose concrete cleaners work for light marks. For heavy tire marks, you’ll be frustrated. Use the right tool for the job.
What Doesn’t Work
Bleach doesn’t touch rubber. Simple green cleaners aren’t strong enough. Dish soap is useless here. You need a degreaser designed for concrete.
Prevention
Entry Mats
The easiest prevention. Place mats where tires roll in—garage entry, driveway entry. Mats catch debris before it transfers.
Don’t Spin Tires
Obvious but worth saying. Avoid burnouts, rapid acceleration, and spinning on concrete. That’s what creates the worst marks.
Clean Spills Immediately
Oil and fluids attract rubber dust and create sticky messes that grab tire deposits. Clean oil stains when they happen.
Seal the Concrete
Penetrating sealer fills pores and makes it harder for rubber to grab. Sealed concrete shows fewer tire marks and they clean up easier.
Common Mistakes
Using cold water when hot is available. Heat makes a huge difference. Use hot water if you have it.
Weak degreaser. You need a serious degreaser, not a general-purpose cleaner.
Insufficient dwell time. The chemical needs time to work. Don’t rush it.
One pass and done. Tire marks usually need multiple passes. Plan for it.
Aggressive wand work on large areas. You’ll be there all day and your arm will fall off. Use a surface cleaner.
Ignoring safety. Hot water + degreaser = burn risk. Wear proper PPE.
Expecting perfection on old marks. Some baked-on tire marks are permanent. 80-90% removal is realistic.
Troubleshooting
Tire marks not budging: Increase degreaser strength, extend dwell time to 15 minutes, add heat if you’re not using it.
Concrete getting etched: You’re using too aggressive a technique. Back off on pressure, reduce chemical strength, increase standoff distance.
Taking too long: Switch to a surface cleaner, use hot water, or accept that it’s a multi-pass job and pace yourself.
Mark looks lighter but won’t fully disappear: It’s baked into the concrete. You may have reached the limit of what’s removable. Consider mechanical removal or manage expectations.
Realistic Expectations
Fresh Marks (Days to Weeks)
Should come up completely in 1-2 passes with hot water + degreaser.
Medium Marks (Months)
Will come 80-95% clean. May take 3-4 passes. Slight shadowing may remain—this is normal.
Old Marks (Years)
Expect 50-80% removal. The mark may still be visible as a shadow. Multiple aggressive passes or mechanical removal can get you to 90%, but you risk concrete damage.
Sometimes the "cure" is worse than the symptom. If you're grinding down concrete to remove a tire mark, you're creating a texture difference that might be more noticeable than the mark itself.Next Steps
Get those tire marks gone:
Was this article helpful?
Your feedback helps us improve our content.
Related Articles
Garage Floor Cleaning and Degreasing: Complete Guide
Remove oil stains, grease, and grime from your garage floor using pressure washing techniques, degreasing chemicals, and hot water methods. Professional tips for DIYers.

Concrete Driveway Cleaning Guide: Remove Oil Stains, Tire Marks, and Algae
Professional concrete driveway cleaning techniques. Remove oil stains, tire marks, algae, and grime. Surface sealing, restoration, and long-term protection strategies.
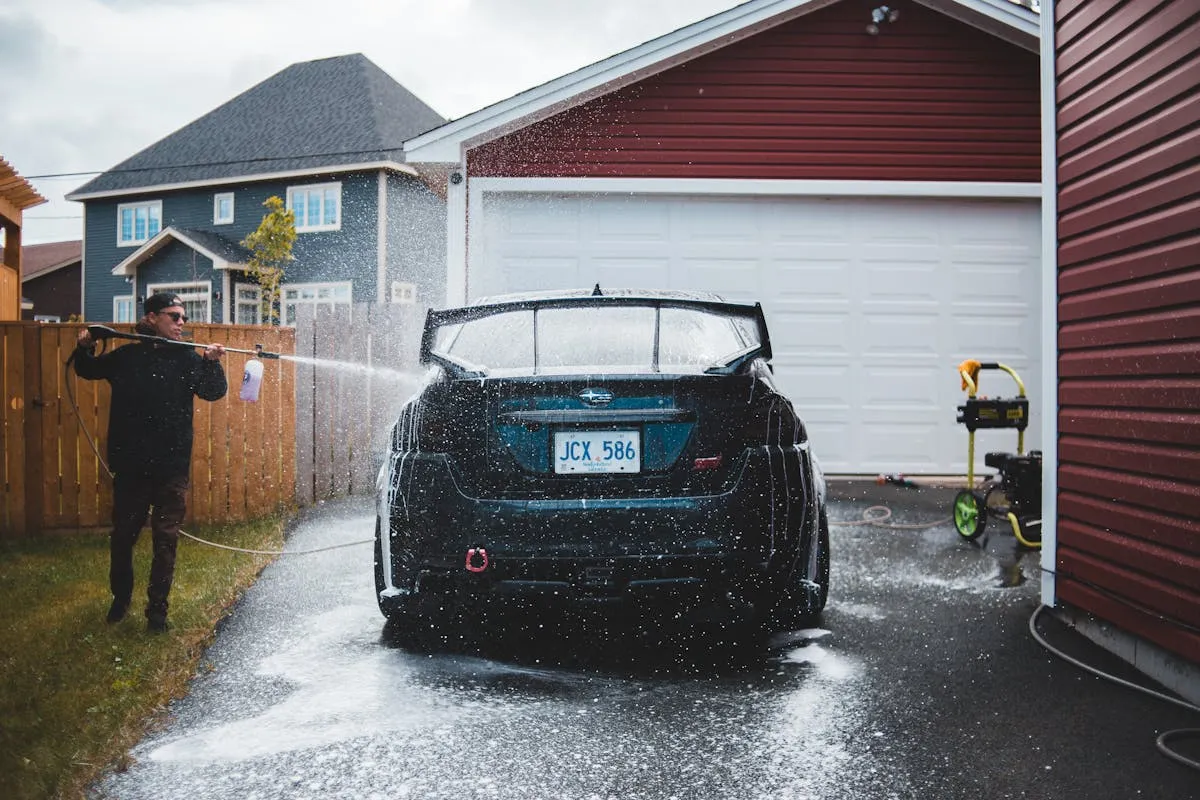
Surface Cleaner Technique: Perfect Even Concrete Cleaning
Master pressure washer surface cleaners: technique tips, speed patterns, and how to avoid stripes. Get professional results on driveways, patios, and flatwork.

Sodium Hydroxide (NaOH): When and How to Use Caustic Soda
Learn when to use sodium hydroxide (caustic soda beads) in pressure washing, plus safe handling, proper PPE, and effective mix ratios for concrete and degreasing.