
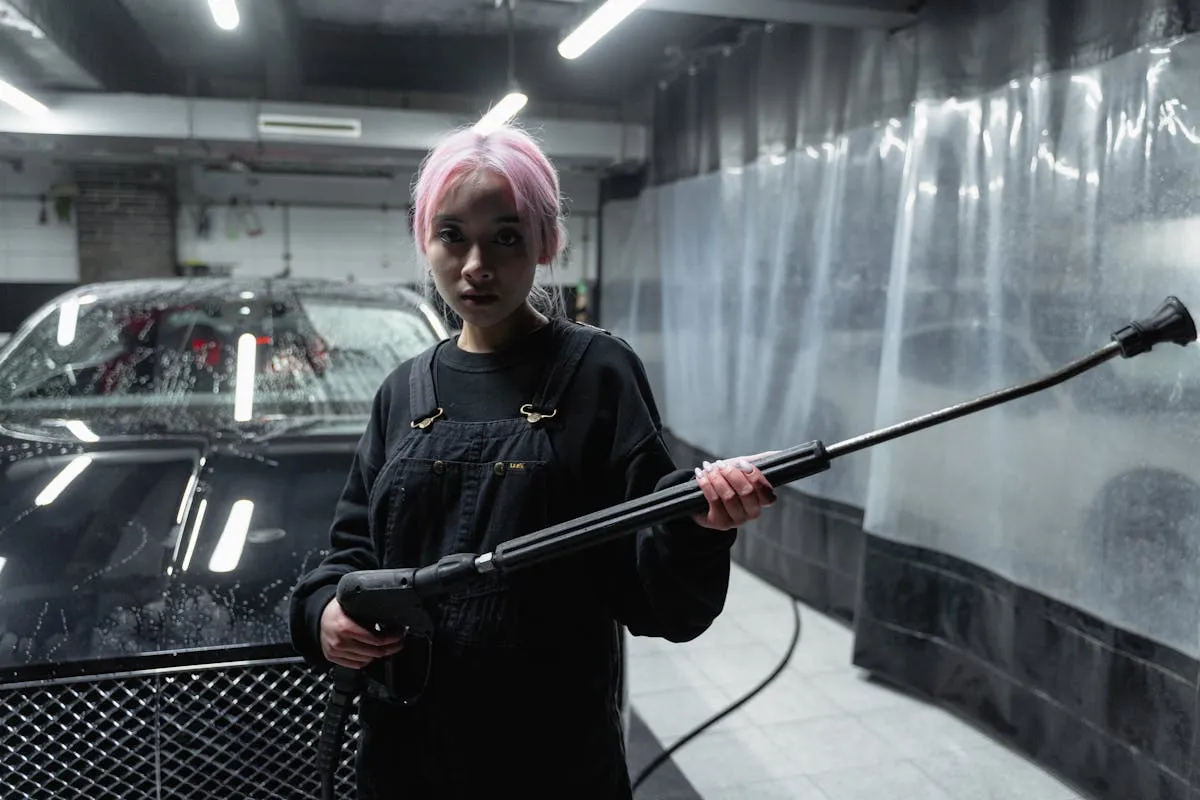
Downstream Injector Not Drawing Chemical: Complete Fix Guide
Downstream injector not drawing soap or chemical? Learn why injectors fail, how to troubleshoot, and step-by-step fixes for common injector problems.
Key Takeaways
- 80% of injector problems are user error or setup issues — wrong nozzle, wrong settings
- Downstream injectors only work at LOW pressure — that’s why you use the soap nozzle
- Clogged injectors are common — especially with wrong chemicals
- Air leaks kill suction — check all connections
- Some injectors are just weak — budget model limitation
How Downstream Injectors Work
The Basic Principle
A pressure washer’s downstream injector works through suction created by the venturi effect. Water runs under high pressure from the pump and passes through the injector body, where a constriction creates a vacuum. That vacuum pulls chemical up through the chemical line and mixes it with the water stream. The chemical never passes through the pump itself.
The Critical Requirement
Downstream injectors only work at LOW pressure. That’s why the black soap nozzle (usually 65°) must be used.
High-pressure water moves too fast through the injector—no vacuum forms, no chemical draws. Low-pressure water slows down, vacuum forms, and chemical flows. Using any nozzle other than the soap nozzle means the injector won’t work properly. That’s not a malfunction—it’s how the design functions.
Quick Diagnostic Flow
Follow These Steps in Order:
Step 1: Check Nozzle
- Using black soap nozzle?
- No → Install soap nozzle, test
- Yes → Go to Step 2
Step 2: Check Chemical Level
- Container has chemical?
- No → Refill, test
- Yes → Go to Step 3
Step 3: Check for Air Leaks
- Inspect chemical line and connections
- Leaks found? → Tighten or replace line
- No leaks → Go to Step 4
Step 4: Test for Clogs
- Remove line, blow through it, test injector suction
- Clogged? → Flush or clean injector
- Clear → Go to Step 5
Step 5: Check Chemical Type
- Using proper pressure washer chemical?
- No → Switch to proper chemical, flush system
- Yes → Go to Step 6
Step 6: Test Injector
- Suction test at injector inlet
- Weak or no suction? → Replace injector
- Good suction → Consult professional or manufacturer
Problem #1: Wrong Nozzle (Most Common)
The Issue
When using red, yellow, green, or white nozzles, the injector can’t create enough vacuum at high pressure, so chemical doesn’t draw.
How to Confirm
Swap the current nozzle for the black soap nozzle. If chemical starts drawing immediately, that was the problem.
The Fix
Always use the black soap nozzle (typically 65°) when applying chemicals. It’s labeled “soap” because it creates the backpressure needed for injection.
Pro tip: Mark the soap nozzle with tape or paint to make identification quick and easy.
Adjustable Injectors
Some injectors have a dial or lever to adjust draw rate or turn injection on/off. Make sure it’s set to “draw” or “inject,” not “bypass.”
Problem #2: Chemical Container Empty or Low
The Issue
The chemical bucket is empty or the level is too low to draw from—simple but common.
How to Confirm
Check the container. If it’s empty or nearly empty, that’s the problem.
The Fix
Refill with proper chemical mix. Keep the container reasonably full during use—very low levels can cause weak draw as the injector sucks air instead of chemical.
Keep a spare container ready so work never stops mid-job due to empty chemical supply.
Problem #3: Clogged Injector or Chemical Line
The Issue
Wrong chemicals, old chemicals, or debris have clogged the injector or chemical line. This is extremely common.
How to Confirm
Visual inspection: Look at the chemical line for kinks or obvious blockages. Check if there’s a filter on the end of the tube (many models have one).
Air test: Remove the chemical line from the injector. Blow through it—air should pass easily. If it’s blocked, there’s the clog.
Vacuum test: With the line removed and the washer running, put a finger over the injector inlet. Strong suction should be felt. No suction = injector problem.
The Fix
Minor clog: Run clean water through the system. Flush the injector and line thoroughly. Clean any filter found.
Major clog: Remove the injector (usually twists off or is held with clips). Clean it with water, compressed air, or a small brush. Some chemical companies sell injector cleaner solution.
Severe clog: If the injector is hopelessly clogged, replace it. They cost $20-60.
Prevention
Use only chemicals designed for pressure washers. No bleach, acids, or random household cleaners. Flush the system with clean water after every chemical use. Clean the filter regularly if equipped.
Wrong chemicals are the most expensive mistake. They clog, damage seals, and sometimes destroy injectors permanently.
Problem #4: Air Leaks in Chemical Line
The Issue
Air leaking into the chemical line breaks the vacuum needed for drawing chemical.
How to Confirm
Chemical draws inconsistently—sometimes it works, sometimes it doesn’t. Air bubbles may be visible in the chemical line (if it’s clear). The flow sputters or is weak.
The Fix
Check connections: Where the chemical line attaches to the injector. Tighten if loose.
Inspect the line: Look for cracks, holes, or damage. Clear chemical lines let you see bubbles—leaks are visible this way.
Replace the line: If damaged, replace it. Chemical lines cost $10-20 and swap easily.
Check the filter: If the filter housing is cracked or the seal is bad, replace the filter ($5-15).
Pro Tip
When replacing a chemical line, go slightly longer than needed. Extra line provides flexibility and reduces stress on connections.
Problem #5: Wrong Chemical Type
The Issue
Using chemicals that are too thick, not designed for injection, or are clogging the system.
Chemicals That Cause Problems
- Bleach: Damages injectors and seals
- Acids: Damage injectors and seals
- Dish soap: Too thick, not designed for injection
- Laundry detergent: Not designed for injection
- Old, separated chemicals: Chunky, inconsistent
Proper Chemicals
Use only chemicals designed for pressure washer injection. They’re formulated to:
- Mix at the right ratio
- Pass through injectors without clogging
- Be compatible with injector materials
The Fix
Switch to proper pressure washer chemicals. Flush the system thoroughly with clean water to remove the wrong chemical. If the injector is damaged, replace it.
Problem #6: Weak Injector (Design Limitation)
The Issue
Some pressure washers (especially budget models) ship with weak injectors. They work, but not well. Chemical draw is always weak.
How to Confirm
Chemical draw has always been weak, even when new. It works better when the chemical container is full. The problem has existed since day one.
Making It Work
Keep chemical container full: Better liquid level = better draw.
Dilute your chemical: If the product allows it, mix stronger to compensate for weak injection.
Accept the limitation: It’s not broken, just not great. Work within its capabilities.
Upgrade Options
Aftermarket injector: Better injectors ($40-100) draw much stronger. They’re easy to install and make a huge difference.
External injection system: Independent injector ($60-150) that bypasses the weak built-in injector.
New pressure washer: If weak injection is a deal-breaker for the work, consider upgrading.
Problem #7: Faulty Injector Valve
The Issue
The injector valve itself has failed. It worked before, now it doesn’t.
How to Confirm
The injector used to work fine. Now it doesn’t draw at all even with the soap nozzle. The chemical line is clear. The chemical is good. There’s just no suction at the injector inlet.
The Fix
Replace the injector. They’re typically not repairable. Cost is $20-60 for most residential washers. Installation is straightforward—usually twists off/on or is held with clips.
DIY vs. Professional
Injector replacement is DIY-friendly if mechanically inclined. If not comfortable, a pro can do it quickly. If the washer’s under warranty, check before DIY work.
Opening sealed equipment may void warranties. Check before attempting repairs on newer washers.
Regular Maintenance for Reliable Injection
After Every Use
Run clean water through the injector for 2-3 minutes. Rinse out the chemical container. Inspect the chemical line for wear or damage.
Monthly
Clean the injector filter if equipped. Inspect all connections. Tighten anything that’s loosened from vibration.
Seasonally
Deep clean the injector with injector cleaner solution. Replace the chemical line if it’s showing wear. Inspect all O-rings and replace if needed.
Winterizing
Remove the injector before storing. Clean thoroughly and store indoors. Don’t leave chemicals sitting in the system.
Testing Your Injector
Quick Test
- Fill chemical container with plain water.
- Install soap nozzle.
- Turn on washer and point gun at a safe area.
- Trigger the gun.
- Water should be drawn from the container (bubbles if using chemical, movement if plain water).
Suction Test
With the chemical line removed and washer running, put a finger over the injector inlet. Strong suction should be felt. No suction = injector problem.
Choosing and Using Chemicals
Proper Dilution
Follow manufacturer directions. Don’t over-concentrate—this clogs injectors.
Mix in a clean container. Stir thoroughly. Use fresh mix, not old separated stuff.
Chemical Quality
Use reputable brands. Cheap chemicals often have inconsistent quality and clog systems.
Good brands: Professional-grade chemicals designed for injection.
Avoid: Hardware store bargain bins, random household cleaners, expired products.
Storage
Store chemicals properly. Tight caps, cool location, out of sunlight. Old chemicals separate and get chunky.
When to Call a Pro
Consider professional help when: all troubleshooting steps haven’t worked, replacement is uncomfortable, the washer is under warranty, or internal pump problems are suspected.
A professional can: diagnose complex issues, replace components properly, check for related problems, and warranty their work.
Realistic Expectations
Best Case
Setup issue (wrong nozzle, empty container). Quick fix, back to work in minutes.
Typical Case
Clogged injector or air leak. Cleaning or part replacement needed. $0-60 in parts, 30 minutes of work.
Worst Case
Injector failed or design limitation. Replacement or upgrade needed. $20-150 depending on solution.
Sometimes equipment has limits. Working within those limits or upgrading is the answer.
Next Steps
Fix your injector:
Was this article helpful?
Your feedback helps us improve our content.
Related Articles
Downstream Injection Setup: Complete Guide to Chemical Application
Master downstream injection for pressure washing: setup, operation, troubleshooting, and proper chemical application techniques for consistent results.
House Wash Mix Recipes: Professional Ratios for Every Surface
Exact pressure washing chemical mix recipes: SH concentrations, surfactant ratios, and application methods for vinyl siding, stucco, brick, and more.