
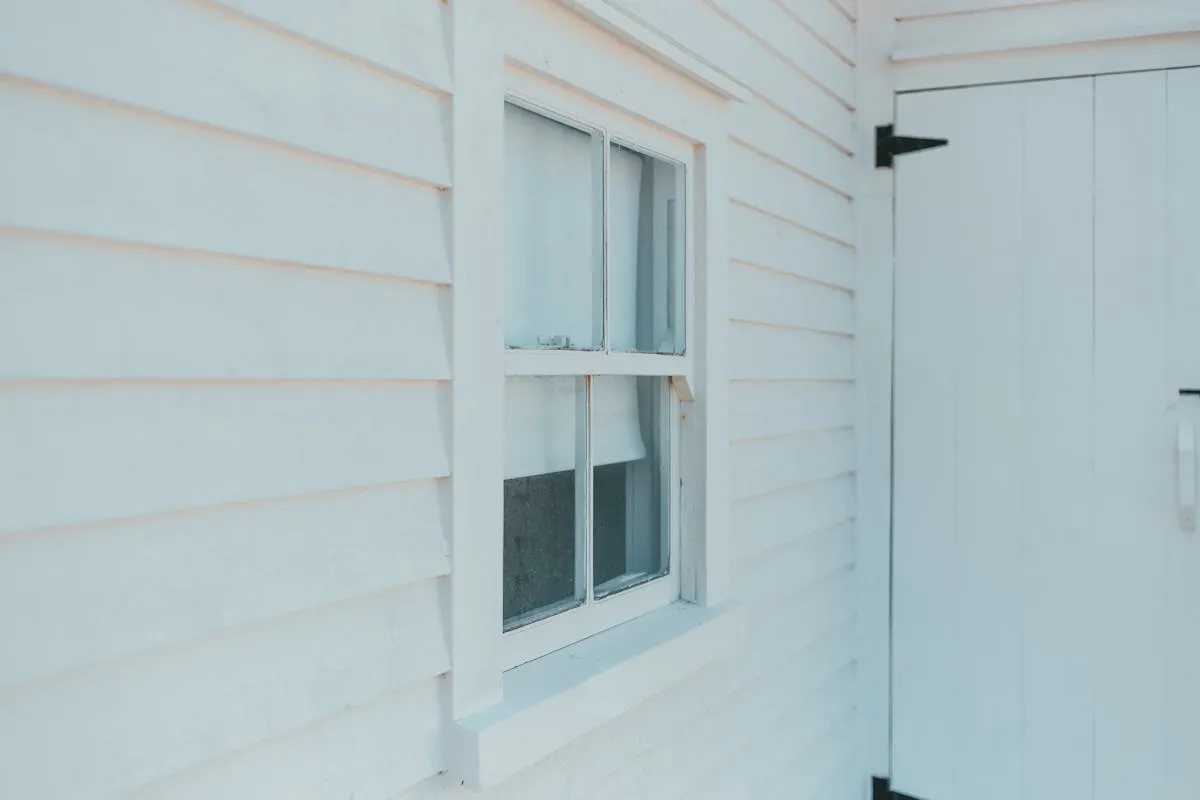
Aluminum Siding Cleaning: Remove Oxidation and Chalky Residue
Complete guide to cleaning aluminum siding: removing oxidation and chalky residue, safe pressure washing techniques, brightening dull aluminum, and protecting the finish.
Quick Answer
Clean aluminum siding at 1500-2000 PSI using 25-degree nozzle, spraying downward at 45-degree angle. Pre-treat with aluminum-safe cleaner (TSP substitute or dedicated house wash) to remove oxidation and chalky residue. Never spray upward—water gets behind siding and causes rot. Work from bottom up when applying chemicals, top down when rinsing.
Key Takeaways
- Spray downward only - Upward spraying forces water behind siding causing rot
- Low pressure is critical - Aluminum dents easily at high pressure
- Chalky residue requires chemical - Pressure washing alone won’t remove oxidation
- Test cleaner first - Some chemicals damage painted aluminum
- Severe oxidation may need painting - Cleaning has limits on heavily oxidized siding
Understanding Aluminum Siding
Aluminum siding was installed on millions of homes from 1940s-1980s before vinyl took over. Durable, fire-resistant, and low maintenance, it lasts 40+ years but develops specific problems as it ages.
The biggest issue: oxidation. Aluminum oxidizes when exposed to air and moisture, creating chalky white powder on surface. This is actually protective—aluminum naturally protects itself from corrosion—but it looks terrible. The chalky residue grabs dirt, making siding look dull and dirty even when clean.
Painted aluminum has additional issues. The paint fades, chalks, and eventually fails. When paint chalks, you see white powder coming off on your hand. This isn’t dirt—it’s degraded paint. Removing it requires care or you’ll strip the paint entirely.
REPLACECRITICAL: Aluminum is soft. Dents easily. High pressure damages siding. Keep pressure under 2000 PSI, use wide nozzle (25-degree minimum), never get closer than 6 inches to surface.
The Chalky Residue Problem
What Causes It?
Oxidation: Bare aluminum naturally oxidizes, creating white chalky layer. This is aluminum’s version of rust—though aluminum doesn’t rust, it does oxidize.
Paint chalking: Painted siding’s finish degrades from UV exposure. Paint pigment breaks down, creating powdery surface. Common on aluminum siding 20+ years old.
Environmental buildup: Pollution, pollen, dust combine with oxidation to create heavy grime layer.
Why Pressure Washing Alone Fails
You can pressure wash oxidized aluminum for hours and it’ll still look chalky. The residue is chemically bonded to surface—water won’t remove it. You need chemical cleaner to break oxidation bond so it rinses away.
Think of it like this: Oxidation creates a layer of chalky material on surface. Pressure washing just rearranges the chalk—it doesn’t remove it. Chemical cleaner breaks the bond between chalk and aluminum, allowing you to rinse it away completely.
Safe Pressure Washing Techniques
Equipment Setup
Pressure: 1500-2000 PSI maximum. Aluminum dents above 2000 PSI. Most electric washers (1300-1800 PSI) are perfect. Gas washers need pressure regulation or choked-down nozzle.
Nozzle: 25-degree (green) minimum. Never use 15-degree (yellow) or 0-degree (red). 40-degree (white) is safest but cleans slower.
Technique: Downward spraying at 45-degree angle. Never spray upward—water gets behind siding, causes rot, mold, structural damage.
Direction Matters: Why Downward Only
Siding is designed to shed water downward. Overlap pieces shed water like shingles. When you spray upward:
- Water gets behind siding
- Moisture trapped against sheathing
- Mold and rot develop
- Paint blisters and peels
- Structural damage over time
Always spray downward. This applies to all siding types, not just aluminum.
Step-by-Step Process
1. Protect landscaping:
Cover plants, shrubs, flowers with plastic. House wash chemicals damage vegetation. Even “safe” cleaners harm sensitive plants. Water plants thoroughly before and after to dilute runoff.
2. Close windows and doors:
Obvious but easily forgotten. Water gets inside quickly if you forget.
3. Apply cleaner (bottom to top):
Start at bottom, work up. This prevents streaking from cleaner running down dirty siding. Apply with garden sprayer or pressure washer soap nozzle.
4. Let dwell 10-15 minutes:
Cleaner needs time to break down oxidation and grime. Don’t let it dry on surface—if drying too fast, mist with water to keep wet.
5. Scrub if needed:
For heavy oxidation, scrub with soft brush or extension pole. Scrubbing mechanically breaks up oxidation faster than chemicals alone.
6. Rinse (top to bottom):
Rinse in opposite direction of application. Start at top, work down. Rinse thoroughly until water runs clear.
7. Inspect and repeat if needed:
Heavy oxidation may require two cleanings. Let siding dry completely between cleanings (wet siding looks different than dry).
Cleaning Solutions
TSP Substitute (Trisodium Phosphate Alternative)
Traditional TSP (trisodium phosphate) was the go-to cleaner for decades. Phosphate pollution concerns led to bans. TSP substitutes work similarly without environmental harm.
Best for: General cleaning, heavy grime, oxidation removal
Mix: 1/4 cup TSP substitute per gallon water. For heavy oxidation, use 1/2 cup per gallon.
Application: Apply with garden sprayer, let dwell 15 minutes, scrub if needed, rinse thoroughly.
Pros: Inexpensive, effective, readily available
Cons: Requires scrubbing for heavy oxidation, can harm vegetation
Dedicated House Wash Cleaners
Products specifically formulated for siding:
Simple Green House & Siding Cleaner: Concentrated, environmentally friendly. Mix 1:1 with water for heavy cleaning. Safe for plants when used as directed.
Krud Kutter House Wash: No-scrub formula, removes oxidation and grime. Apply, let dwell 15-20 minutes, rinse.
30 Seconds Outdoor Cleaner: Strong, fast-acting. Removes heavy oxidation. Can damage vegetation—cover plants thoroughly.
ZEP House & Siding Wash: Concentrated, economical. Mix with water, apply, let dwell, rinse.
Oxygen Bleach (Oxiclean)
Sodium percarbonate breaks down organic stains and light oxidation. Safer than chlorine bleach.
Best for: Mold, mildew, light oxidation, organic stains
Mix: 4-6 ounces per gallon hot water. Stir until dissolved.
Application: Apply, let dwell 15-20 minutes, scrub, rinse.
Pros: Safe for vegetation, removes organic growth, no harsh fumes
Cons: Won’t remove heavy oxidation alone
Aluminum Brighteners
Acidic products specifically formulated for aluminum:
Best for: Heavy oxidation, restoring bright aluminum appearance
Products: Star brite Aluminum Brightener, MaryKate On & Off
Application: Dilute according to directions (typically 1:1 or 2:1 with water). Apply, let dwell 5-10 minutes, rinse thoroughly.
WARNING: These are acidic. Can damage painted aluminum. Test on small area first. Harmful to vegetation—cover plants.
Never Use These
Chlorine bleach: Doesn’t remove oxidation, can damage painted finishes, harms vegetation.
Solvent cleaners: Paint thinner, mineral spirits—too harsh, strips paint.
Abrasive cleaners: Scouring powder—permanently scratches aluminum.
Pressure washer soap: Generic detergents may not be formulated for siding oxidation.
Removing Heavy Oxidation
Light Oxidation (Dull Appearance, No Chalk)
Cleaner and rinse usually sufficient. TSP substitute or dedicated house wash removes light oxidation and restores appearance. One cleaning typically does it.
Moderate Oxidation (Visible Chalky Residue)
Requires two-step process:
Apply aluminum brightener (acidic) to break down oxidation. Let dwell 5-10 minutes. Don’t let it dry.
Scrub with soft brush to mechanically remove loosened oxidation.
Rinse thoroughly with plenty of water.
Apply house wash cleaner (alkaline) to neutralize any remaining acid and remove remaining grime.
Rinse again until water runs completely clear.
Severe Oxidation (Heavy Chalking, Paint Degraded)
At this point, cleaning has limits. You can remove surface grime, but the oxidation layer is too thick or paint too degraded.
Options:
Professional restoration: Pros use stronger acids and mechanical removal (buffing) that homeowners can’t safely do.
Painting: Sometimes the only option. Clean thoroughly, prime with metal primer, paint with acrylic paint designed for metal siding.
Replacement: If siding is heavily damaged (dents, deep oxidation, paint failure), replacement may be more cost-effective than repeated cleaning attempts.
Protecting Cleaned Siding
Waxing Aluminum Siding
After cleaning, applying automotive paste wax creates protective layer that slows oxidation.
Process:
- Clean siding completely and let dry
- Apply automotive paste wax with clean cloth
- Buff with another clean cloth
- Reapply annually
Benefits: Slows oxidation, makes future cleaning easier, adds slight sheen
Drawbacks: Time-consuming for large areas, needs yearly reapplication
Painting Aluminum Siding
If oxidation is too severe or paint is failing, painting is the best protection.
Process:
- Clean siding thoroughly (remove all oxidation)
- Rinse and let dry completely
- Prime with metal primer specifically for aluminum
- Paint with 100% acrylic paint designed for metal siding
- Two coats recommended
Benefits: Seals aluminum completely, lasts 10+ years, improves appearance
Drawbacks: Expensive, time-consuming, needs repainting eventually
Safety and Damage Prevention
Dents and Waves
Aluminum dents easily. High pressure, wrong nozzle, or too close creates permanent damage.
Prevention:
- Stay under 2000 PSI
- Use 25-degree nozzle or wider
- Keep 6-12 inches from surface
- Never use 0-degree (red) nozzle
- Never use turbo/rotary nozzle (too concentrated)
Paint Stripping
Painted aluminum can lose paint if you’re too aggressive.
Prevention:
- Use aluminum-safe cleaners
- Avoid abrasive scrubbing
- Skip aluminum brightener if paint is thin/fragile
- Test cleaner on small area first
Water Intrusion
Spraying upward forces water behind siding.
Prevention:
- Always spray downward
- Never aim nozzle upward into siding overlaps
- Don’t spray directly at windows, doors, vents
- Check behind siding after cleaning if you suspect water intrusion
Ladder Safety
Two-story homes require ladder work. Falls are serious.
Prevention:
- Use extension pole for spray nozzle—stay on ground
- If you must use ladder, have someone hold it
- Never stand on top rungs
- Use ladder standoff to protect siding
- Consider hiring pro for two-story work
Pro Tips
Work in small sections. Apply cleaner to 4x6 foot section, let dwell, scrub if needed, rinse. Don’t try to clean entire house at once—cleaner dries before you can rinse it.
Keep nozzle moving. Never stay in one spot more than 1-2 seconds. Lingering creates marks, uneven cleaning, possible damage.
Overlap passes. Overlap each pass by 50% for even cleaning. Missed spots show up as streaks later.
Test cleaner first. Apply small amount to inconspicuous area, let dwell, check for damage before doing whole house. Some cleaners strip paint.
Rinse from top down. Application goes bottom to top, rinsing goes top to bottom. This prevents streaking and ensures all cleaner is removed.
Let it dry before judging. Wet siding looks different than dry. Let siding dry completely (2-4 hours) before deciding if it needs second cleaning.
Wear eye protection. Overspray gets everywhere, including your eyes. Safety glasses are mandatory.
Cover electrical fixtures. Water in electrical outlets and fixtures causes short circuits. Use plastic bags or covers.
Common Mistakes
Spraying Upward
Most common and most damaging mistake. Forces water behind siding, causes rot and mold. Always spray downward at 45-degree angle.
Too Much Pressure
Aluminum dents easily. Keep pressure under 2000 PSI. Use 25-degree nozzle minimum. Don’t get closer than 6 inches to surface.
Not Rinsing Enough
Leftover cleaner leaves sticky residue that attracts dirt. Rinse until water runs completely clear. Then rinse once more.
Letting Cleaner Dry
Cleaner dries into stubborn residue that’s harder to remove than original grime. If cleaner is drying too fast (hot sun, low humidity), mist surface with water to keep it wet.
Using Too Strong Cleaner
Oxidation requires chemical cleaner, but some cleaners strip paint. Always test on small area first. Start with mild cleaner (TSP substitute), progress to stronger only if needed.
Ignoring Safety
Ladder falls, chemical burns, electrical hazards—all real risks. Use proper safety equipment, work carefully, consider hiring pro for two-story homes.
People Also Ask
Can you use bleach to clean aluminum siding?
Not recommended. Chlorine bleach doesn’t remove oxidation and can damage painted aluminum. Use oxygen bleach (Oxiclean) or dedicated house wash cleaner instead.
How do you remove chalky residue from aluminum siding?
Use aluminum-safe cleaner with some scrubbing. TSP substitute or dedicated house wash breaks down oxidation. Scrub with soft brush, rinse thoroughly. Heavy oxidation may need aluminum brightener (acidic) but test first.
Can you pressure wash aluminum siding?
Yes, but use low pressure (1500-2000 PSI max) with 25-degree nozzle. Spray downward at 45-degree angle. Never spray upward—water gets behind siding and causes rot.
Why does aluminum siding turn chalky?
Oxidation. Aluminum naturally oxidizes when exposed to air and moisture, creating white chalky layer. Painted aluminum also chalks as paint degrades from UV exposure.
How do you restore faded aluminum siding?
Light fading: Clean with aluminum-safe cleaner. Moderate fading: Aluminum brightener plus cleaner. Severe fading: Paint is often the only option. Clean thoroughly, prime with metal primer, paint with acrylic paint for metal.
Can you wax aluminum siding?
Yes. Automotive paste wax applied after cleaning creates protective layer that slows oxidation and makes future cleaning easier. Reapply annually.
Next Steps
Ready to clean your aluminum siding?
Was this article helpful?
Your feedback helps us improve our content.
Related Articles
Washing a Two-Story House Safely: Complete Guide
Learn how to safely pressure wash a two-story house using extension wands, ladders, and proper second-story techniques. Professional methods for homeowners and contractors.
Hardie Board and Fiber Cement Siding Care: Complete Guide
Clean Hardie board and fiber cement siding safely following manufacturer guidelines. Proper pressure, chemicals, caulk protection, and techniques for painted vs unpainted fiber cement.