
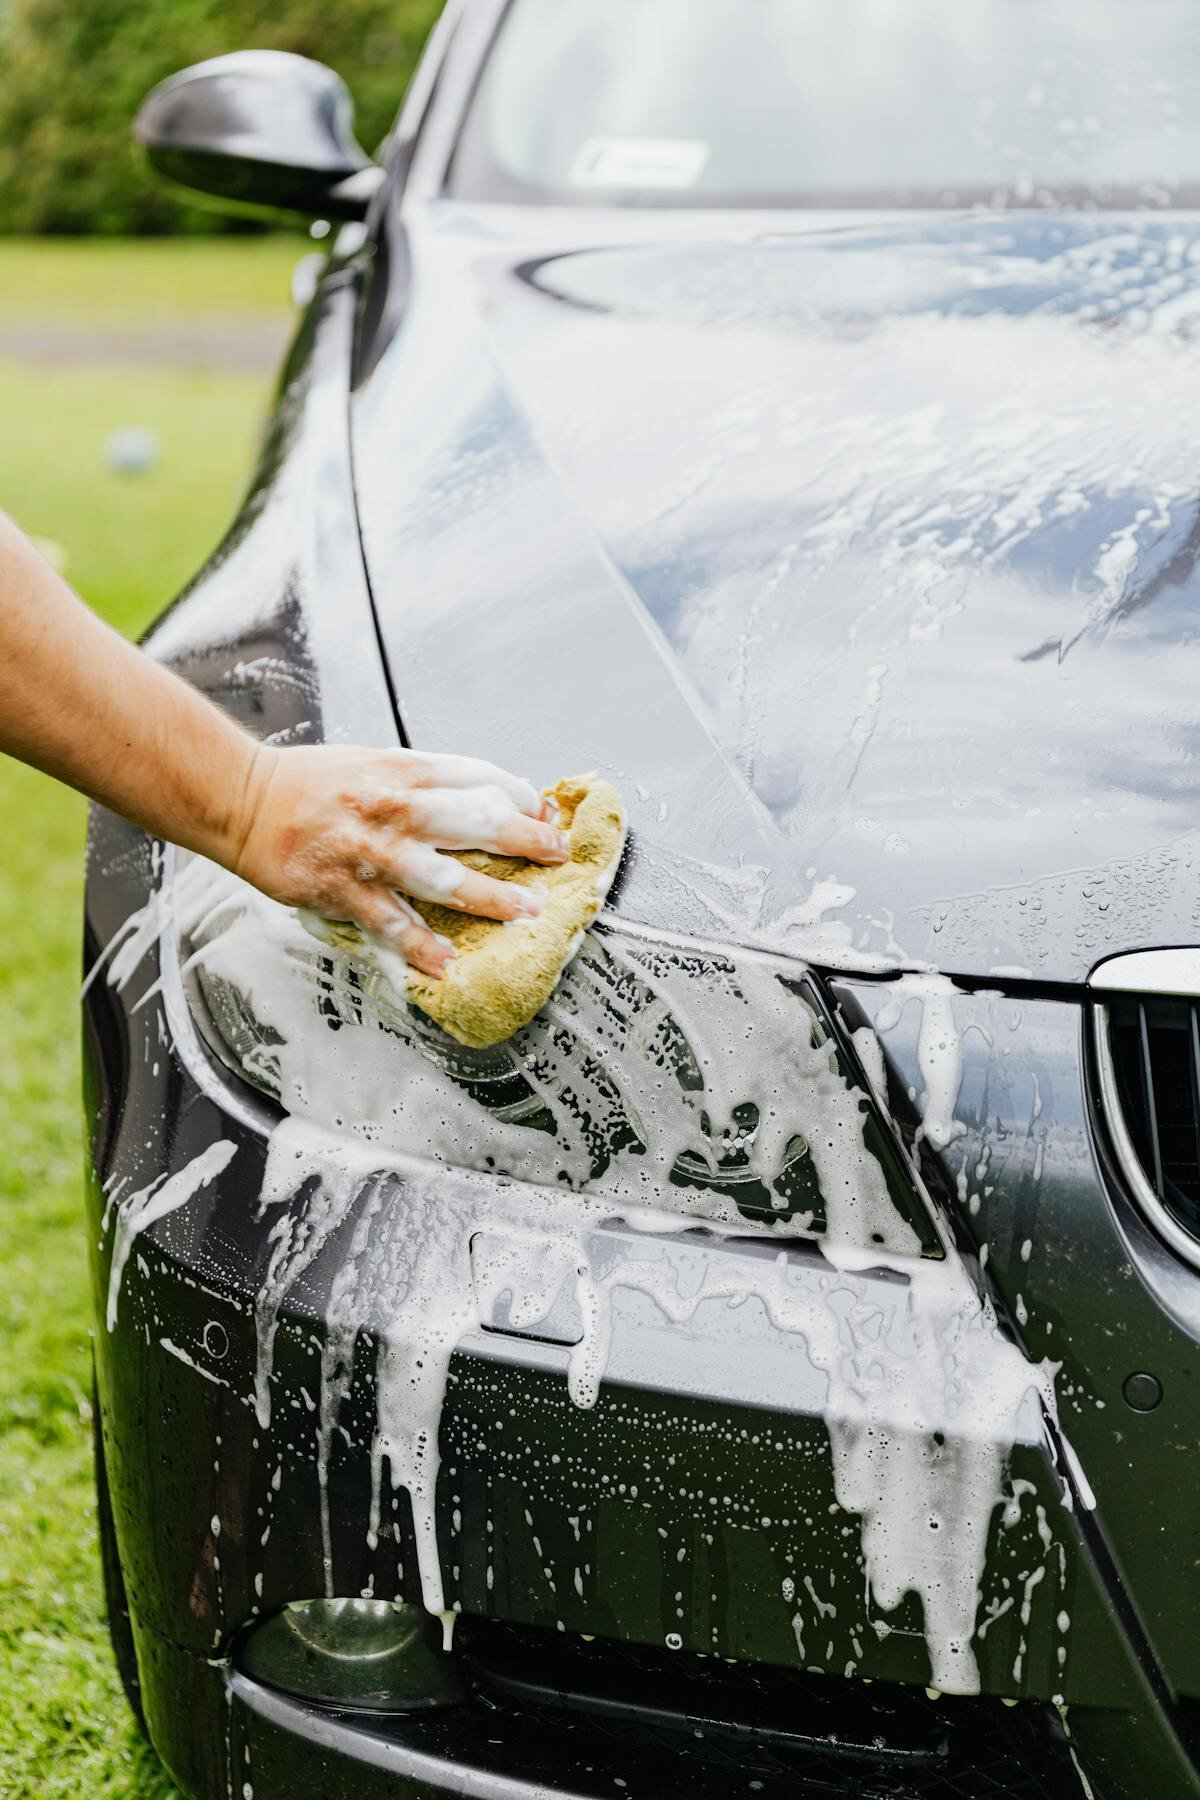
House Washing Guide: Safe Techniques for Every Siding Type
Master house washing techniques for vinyl, stucco, brick, wood, and fiber cement siding. Soft wash methods, chemical selection, and protection protocols for safe exterior cleaning.
House Washing Guide: Safe Techniques for Every Siding Type
Done correctly, house washing removes mold, algae, and dirt while protecting the structure. Each siding type requires a specific approach. Wrong technique causes thousands in damage.
Soft Wash vs. High Pressure
Soft wash uses low pressure (60-150 PSI) with chemicals designed to kill organic growth. High pressure is the wrong approach for residential house washing.
Soft wash advantages: Kills mold and algae at the root. Won’t damage siding materials. Results last 1-2 years. Safe for all siding types. Water stays on the surface instead of forcing into wall cavities.
High pressure problems: Cracks vinyl, chips stucco, furrs wood grain, damages fiber cement, strips paint. When high-pressure equipment damages a home’s exterior, repair costs exceed the original cleaning cost. Soft wash is the industry standard for residential work.
Low-pressure application + dwell time + chemistry beats pressure every time. The chemicals do the work. Pressure only rinses.
By Siding Type
Vinyl Siding
Vinyl tolerates soft wash well when done carefully. The goal: kill algae without streaking or damaging the plastic.
Standard mix: 4 gallons water + 1 quart 12.5% SH + 6-8 oz surfactant. For heavy soil with grease, add 4-6 oz butyl cleaner.
Application process:
- Pre-wet all landscaping thoroughly
- Apply solution from bottom up to prevent streaking
- Use white (40°) or green (25°) nozzle maximum
- Keep spray tip 12-18 inches away from surface
- Allow 5-10 minutes dwell time
- Rinse from top to bottom
Key details: Focus on shady sides (north and east exposures) where algae establishes. Work in 10-15 foot horizontal sections. Maintain a wet edge—overlap previous sections by 50%. Never wash if siding is already pulling loose from the structure.
Stucco and EIFS (Synthetic Stucco)
Incorrect stucco washing causes $10,000–50,000 damage. Water penetration leads to mold, structural deterioration, and costly remediation. This is a high-liability surface.
Stucco is porous and absorbs water. EIFS (synthetic stucco) adds another layer of complexity—it’s even more fragile than traditional stucco.
Gentle stucco mix: 4.5 gallons water + 2 cups 12.5% SH + 4-6 oz surfactant. Keep bleach concentration lower than vinyl work.
Application process:
- Pre-wet landscaping completely
- Use white nozzle only, 40° fan pattern
- Maintain 18+ inches distance from surface
- Allow 10-15 minutes dwell time (porous material needs longer)
- Rinse in multiple gentle passes, not one aggressive rinse
- Inspect during drying for runs or residue
EIFS special considerations: Before starting, inspect for existing cracks, water damage signs, or soft spots. If structural problems are visible, stop and refer to a professional. EIFS repair involves removing and replacing damaged sections—a job requiring licensed contractors.
Brick and Masonry
Brick is durable but mortar between courses can be fragile. Modern mortar is softer than old mortar, so material age matters.
Standard mix: 4 gallons water + 1 quart 12.5% SH + 6 oz surfactant.
Application process:
- Pre-wet landscaping thoroughly
- Use green (25°) or white (40°) nozzle
- Keep 8-12 inches away (brick tolerates closer proximity)
- Focus spray on mortar joints where algae concentrates
- Allow 5-10 minutes dwell time
- Rinse multiple times in light passes
- Never hover on one spot—keep the spray moving
Important: Always test a small, inconspicuous area first. Old mortar crumbles easily. Watch for surface erosion during the test. Don’t proceed on the full surface if damage appears.
Efflorescence (white mineral deposits): These form when water migrates through brick and deposits salts on the surface. Standard SH cleans the organic growth, but mineral deposits need an acid wash.
Full PPE required: respirator, gloves, eye protection, long sleeves. Use oxalic acid (safer) or muriatic acid (stronger but more hazardous). Always neutralize with baking soda rinse after acid application. Test the process on a hidden area first.
Fiber Cement (Hardie Board)
Fiber cement is factory-engineered and durable, but manufacturers set specific washing guidelines. Check warranty requirements before starting.
Conservative mix: 4.5 gallons water + 2 cups 12.5% SH + 4-6 oz surfactant.
Application process:
- Review manufacturer’s documentation for cleaning specs
- Use white nozzle only, 40° fan maximum
- Maintain 18+ inches distance
- Allow 5-8 minutes dwell time
- Rinse gently and thoroughly
- Test on a hidden area first—different brands react differently
Special notes: Textured surfaces trap dirt deeply. Gentle agitation with a soft-bristle brush helps. If the board is painted, reduce chemical concentration and increase distance further. Never spray caulked joints directly—chemicals can break the seal. Have matching paint on hand for touch-ups after cleaning.
Wood Siding
Look for loose, cracked, rotting, or soft boards. Washing damaged wood drives water deeper into the damage. Repair first, then clean. Soft or rotting wood cannot be safely washed.
Wood is the most fragile siding material. Bleach should be minimal because it can leach color from the wood.
Minimal chemical mix: 4.75 gallons water + 1 cup 12.5% SH + 3-4 oz surfactant. This is mostly water with light chemistry.
Application process:
- Inspect the entire surface before starting
- Pre-wet landscaping and the wood surface
- Use white nozzle only, 40° fan
- Maintain 18+ inches distance (even farther for soft areas)
- Allow only 3-5 minutes dwell time maximum
- Rinse gently and thoroughly
- Stop immediately if wood grain begins to fuzz (raised fiber)
Drying and follow-up: Wood needs 48-72 hours to fully dry. Manage water carefully—don’t let moisture sit behind siding. If grain raises during cleaning, light sanding smooths it before staining. Plan to re-stain within 6 months after washing, as UV exposure accelerates the drying and graying process.
The Complete House Washing Process
1. Inspect → 2. Protect → 3. Apply → 4. Dwell → 5. Rinse
Step 1: Thorough Inspection
Walk the perimeter and document:
- Siding material type (some homes mix vinyl, brick, stucco)
- Areas of damage, loose siding, or water damage
- Windows, doors, vents, outlets (water entry points)
- Active insect activity (bees, wasps, hornets)
- Heavy growth locations (usually north and east sides)
This inspection tells you what chemical mix, dwell time, and equipment you need.
Step 2: Landscape Protection
Bleach-based chemicals damage plants. This step prevents costly landscape replacement.
Protection checklist:
- Soak all vegetation with fresh water before starting
- Cover delicate plants, annual flowers, new shrubs, vegetables, herb gardens
- Protect water features, outdoor furniture
- Periodically re-wet during washing (especially hot, dry days)
- Thorough final rinse after cleaning is complete
Step 3: Chemical Application
Apply solution using a downstream injector or pump sprayer. Work methodically in sections.
Application technique:
- Divide wall into 10-15 foot horizontal sections, full height
- Overlap each new section by 50% (ensures complete coverage)
- Keep the surface wet—don’t allow chemical to dry
- Maintain consistent 12-18 inch distance from surface
- Watch for runoff pooling at landscaping (indicates runoff flow)
Step 4: Dwell Time
Different materials require different dwell periods for chemistry to work:
- Vinyl: 5-10 minutes
- Brick/masonry: 5-10 minutes
- Stucco/EIFS: 10-15 minutes (porous, slower penetration)
- Fiber cement: 5-8 minutes
- Wood: 3-5 minutes maximum
Don’t skip this step. Pressure alone won’t kill root growth. Chemistry needs time to work.
Step 5: Thorough Rinse
Incomplete rinsing leaves streaks, white residue, and chemical damage over time. Multiple light passes work better than one heavy pass. Rinse from top to bottom. Adjust nozzle to white (40°) for gentle flow.
- Use white nozzle with 40° fan pattern
- Rinse top to bottom, following gravity
- Use multiple light passes rather than one heavy pass
- Check for white streaks (chemical residue) as you rinse
- No chemical smell should remain when dry
- Inspect the surface before it dries completely
Common Problems and Solutions
Streaking: Usually caused by chemical drying before rinse or inconsistent application. Solution: work in smaller sections, keep surfaces wet, maintain consistent spray distance and pattern. To fix dried streaks: re-wet the area, re-apply chemical lightly, extend dwell slightly, and rinse thoroughly.
White Residue: Surfactant or minerals not fully rinsed. Avoid excess surfactant in the mix. Rinse multiple times with light pressure. A soft-bristle brush with light contact helps remove stubborn residue.
Incomplete Cleaning: Weak chemical concentration, insufficient dwell, or underestimating growth severity. Before starting, assess growth: light growth needs standard dwell, heavy growth needs extended dwell (10-15 minutes) or a slightly stronger mix. Light agitation with a soft brush helps. Never increase pressure to compensate—use chemistry instead.
Damage During Washing: Stop immediately. Damaged areas may require professional assessment or repair. Document with photos for liability purposes.
When NOT to Wash
Professional cleaners recognize these conditions and stop before starting:
• Loose, separated, or missing siding — Water will penetrate behind panels
• Cracked or failed stucco/EIFS — Damage will expand
• Peeling, flaking paint on wood — Bleach accelerates paint failure
• Soft or rotting wood — Water will worsen decay
• Evidence of active water intrusion — Interior damage signals structural problems
• Mold inside the structure — Surface cleaning won't address the cause
All of these conditions require repair before cleaning. Washing will make them worse.
Optimal Timing and Weather
Best conditions:
- Temperature: 50-80°F (chemistry works slower outside this range)
- Humidity: Below 70% (drying takes forever in wet air)
- Wind: Light breeze under 10 mph (helps drying, prevents drift)
- Sun: Overcast or shady side (chemicals dry too fast in direct sun)
Conditions to avoid:
- Freezing or below 40°F
- Above 90°F (chemicals break down, dehydration risk)
- Heavy wind (drift hazard, uneven application)
- Rain forecast within 12 hours (chemicals won’t have dwell time)
Cleaning frequency: Most residential homes benefit from washing every 1-2 years. More frequent if: shaded, humid climate, heavy tree coverage, north or east exposures. Less frequent if: full sun exposure, dry climate, regular maintenance.
Pricing Your House Washing Service
Professional pricing covers equipment, chemicals, labor, liability insurance, and expertise. Underpricing attracts cheap customers. Fair pricing attracts serious ones.
Single-Story Pricing:
- Small (Under 1,500 sq ft): $250–350
- Medium (1,500–2,500 sq ft): $350–450
- Large (2,500–4,000 sq ft): $450–600
Two-Story Pricing:
- Small (Under 1,500 sq ft): $350–500
- Medium (1,500–2,500 sq ft): $500–650
- Large (2,500–4,000 sq ft): $650–900
Three-Story and Up:
- Add 30–50% over two-story pricing
- Requires specialized equipment (lifts, rigging, safety protocols)
- Demand higher insurance coverage
Premium Factors (Increase Price):
- Heavy algae or mold growth (requires stronger chemicals, extended dwell)
- Multiple siding types (different techniques, longer job time)
- Extensive landscaping protection needed
- Difficult access (slope, obstacles, proximity to structures)
- Stucco or EIFS (higher liability, more technical expertise)
- Second-story work (equipment, safety measures, risk)
Your price should reflect your expertise, not undercut competitors. A professional house washing ($400–800) costs far less than siding replacement ($5,000–50,000). Price for quality, not speed.
Final Safety Guidance
House washing involves pressure equipment, chemicals, heights, and surfaces you may not fully understand. If any part of it seems beyond your current skill level, hire a professional. Paying $400-800 for professional service costs far less than repairing damaged siding, stucco, or water intrusion ($5,000-50,000+).
Professionals carry liability insurance, understand local regulations, have tested their techniques on hundreds of homes, and know when to stop. Those protections are worth paying for.
Was this article helpful?
Your feedback helps us improve our content.
Related Articles
Pressure Washing Chemical Safety Guide: Handling, Storage, and PPE
Essential chemical safety protocols for pressure washing. Proper handling, storage, PPE requirements, spill response, and regulatory compliance for SH, acids, and cleaning solutions.

Pressure Washer Wand Techniques: Mastering Spray Patterns and Distance
Master pressure washer wand control: spray patterns, distance control, trigger technique, and efficient cleaning methods for all surfaces.
Sodium Hypochlorite (SH) Guide: Pressure Washing's Primary Chemical
Sodium hypochlorite (SH) for pressure washing: mixing, application, safety, and effectiveness. The foundation of professional exterior cleaning.