
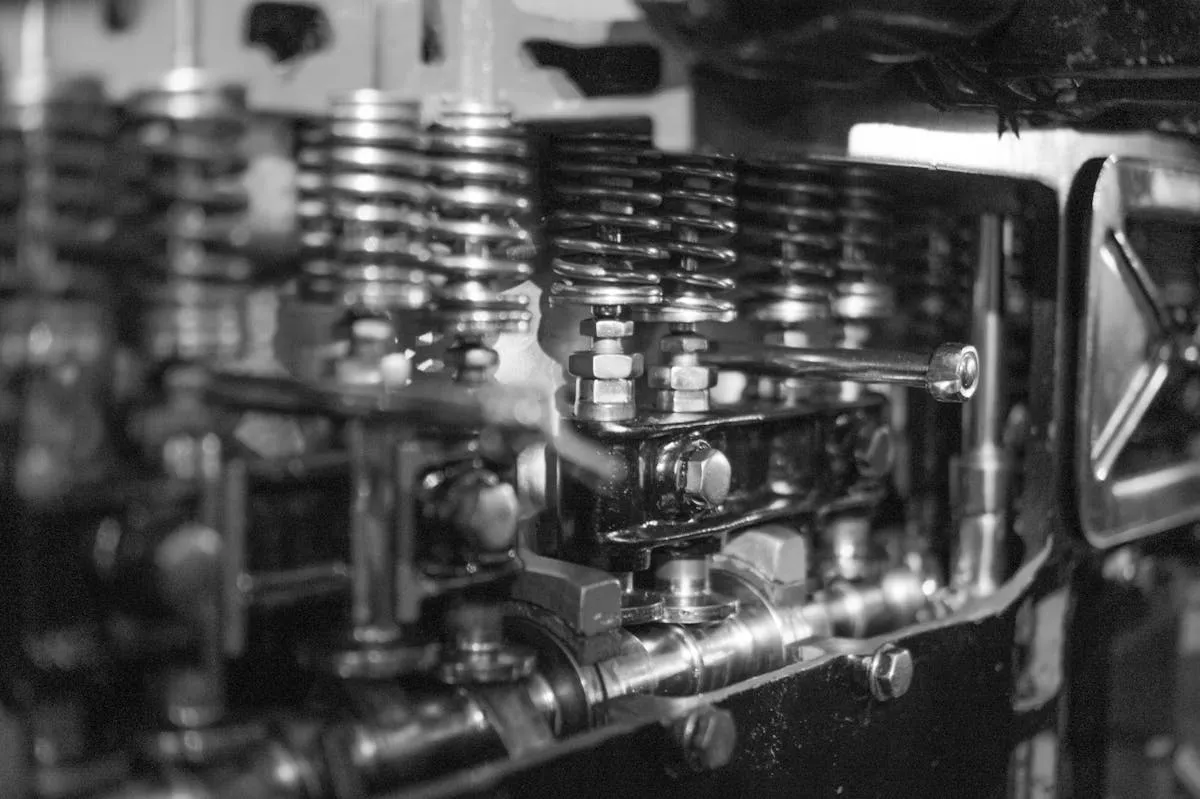
How to Rebuild a Pressure Washer Pump: Complete Step-by-Step Guide
Learn to rebuild your pressure washer pump: disassembly, inspection, parts replacement, and reassembly. Save money and extend equipment life with professional rebuild techniques.
Key Takeaways
- Rebuilding costs 60-80% less than replacement - Save $300-800 by DIY
- Most pumps need rebuilding every 1,500-2,000 hours - Plan ahead
- PAT is critical - Plungers, O-rings, valves in that order
- Clean work space prevents problems - One spec of dust ruins the job
- Take photos during disassembly - You'll thank yourself later
Should You Rebuild or Replace?
Rebuild When:
Economic Justification:- Rebuild kit costs $80-150 vs new pump at $350-800
- Quality pump head (CAT, General) worth rebuilding
- Pump body is in good condition
- You have the time and mechanical aptitude
- Loss of pressure but engine runs strong
- Water leaking from pump head
- Pulsing or surging that persists after unloader service
- Pump has 1,500+ hours (pro models) or 800+ hours (residential)
Replace When:
Economic Indicators:- Rebuild cost exceeds 60% of new pump cost
- Budget pump (AR, off-brand) where replacement makes sense
- Pump is obsolete or parts unavailable
- Cracked pump head or housing
- Severely corroded or damaged components
- Multiple previous rebuilds (3+)
- Failed bearings or crankshaft damage
Tools and Materials Needed
Essential Tools
Must Have:- Socket set - 8mm, 10mm, 11mm, 12mm, 13mm, 14mm
- Torx drivers - T20, T25, T30 (some models)
- Needle-nose pliers - For O-rings and small clips
- Pick set - For removing old seals
- Adjustable wrench - For large fittings
- Torque wrench - 10-50 ft-lb range (highly recommended)
- Clean work surface - Plywood or cardboard, not bare concrete
- Pan or tray - For organizing parts
- Clean rags - Lots of them
- Compressed air - For cleaning (optional but helpful)
- Bearing puller - For stubborn bearings
- Arbor press - For pressing components
- Parts cleaning solvent - Mineral spirits or dedicated pump cleaner
- Ultrasonic cleaner - For small parts
- Digital camera - Your phone works fine
Materials and Supplies
Rebuild Kit ($80-150):- Ceramic plungers (usually 3)
- Valve kits (6 valves: 3 inlet, 3 outlet)
- O-rings (various sizes)
- Seals and gaskets
- Sometimes bearings (check kit contents)
- Pump oil - Non-detergent 30W ($8-12/quart)
- Thread locker - Medium strength (blue) ($6-8)
- Silicone grease - For O-rings ($5-10/tube)
- Cleaning solvent - Mineral spirits ($15/gallon)
- Rags and shop towels - You'll use more than you think
- Parts organizer - Egg carton works perfectly
Understanding Pump Anatomy
Triplex Pump Components
The Heart:- Crankshaft - Converts engine motion to reciprocating
- Connecting rods - Connect crankshaft to plungers
- Bearings - Allow smooth rotation (usually sealed)
- Plungers - Ceramic pistons that move back and forth
- Plunger seals - Keep water from leaking around plungers
- Valves - Control water flow in and out
- Pump head - Brass housing that contains everything
- Manifold - Internal water passages
- Inlet/outlet ports - Where water enters and exits
Most problems are just three things: Plungers, O-rings, Valves. Remember “PAT” and you’ll be fine.
Preparation and Safety
Safety First
Protective Equipment:- Safety glasses - Non-negotiable. Springs can fly.
- Gloves - Metal edges are sharp
- Hearing protection - If you'll be testing nearby
- Work in well-ventilated area
- Avoid open flames (solvent fumes)
- Use nitrile gloves with solvents
- Have fire extinguisher nearby
Pre-Rebuild Diagnosis
Confirm the Pump Actually Needs Rebuilding:- Test pressure - Use gauge if available
- Check for leaks - Visible water from pump head
- Listen to operation - Grinding, knocking, or silence
- Inspect external condition - Corrosion, damage, wear
- Worn plungers - Scoring, chips, or visible wear
- Damaged valves - Cracked, chipped, or worn seats
- Failed seals - Water leakage around plungers
- Blown head gasket - External leak between halves
- Engine problems (rough running, low power)
- Unloader issues (surging, pulsing)
- Clogged nozzle (low pressure, good stream with nozzle removed)
- Hose leaks (visible external leak)
Workspace Setup
Ideal Conditions:- Clean, well-lit area
- Covered work surface (protect parts from dirt)
- Good ventilation (if using solvents)
- Parts organization system (egg carton, labeled containers)
- Reference materials (manual, photos, diagrams)
One speck of dust in your rebuild can ruin everything. Work methodically, cover your work area, and keep everything clean. This isn't the time to rush.
Step-by-Step Rebuild Process
Phase 1: Removal and Disassembly
Step 1: Prepare the Machine
- Run the system dry - Briefly (no more than 10 seconds) to push out most water
- Disconnect spark plug - Safety first
- Remove from frame - If possible, makes work easier
- Clean exterior - Remove dirt and grease (prevents contamination)
- Label orientation - Mark which side faces up
Step 2: External Component Removal
Remove in Order:- Unloader valve - Set aside (separate rebuild if needed)
- Thermal relief valve - If equipped
- Inlet and outlet fittings - Note seal locations
- Oil fill plug/dipstick - Drain pump oil into container
- Bypass hose - If equipped
Step 3: Head Removal
Split the Case:- Remove head bolts - Usually 5-7 bolts around perimeter
- Note bolt lengths - They're often different lengths
- Lift head carefully - Might be stuck from gasket
- Gently pry if needed - Use plastic pry tool, not metal screwdriver
- Separate halves - Note orientation
- Three ceramic plungers
- Valve plate (sometimes integrated)
- Connecting rods
- Crankshaft (sometimes visible)
- Lots of old oil
Step 4: Component Removal
Remove in This Order: 1. Plungers- Pull straight out
- Note orientation (one end might be different)
- Set aside in order (they're matched sets)
- Lift out with needle-nose pliers
- Keep inlet and outlet valves separate
- Note orientation (they install one way only)
- Pick out old seals
- Clean seal grooves thoroughly
- Note location of every single one
- Usually bolted or pressed in
- Clean mating surfaces
- Set aside carefully
Phase 2: Cleaning and Inspection
Step 5: Clean All Components
Clean Everything:- Pump head halves - Remove all old gasket material
- Internal passages - Flush with solvent, then compressed air
- Plungers - Inspect for wear, clean if reusing
- Valves - Replace in rebuild, but inspect old ones
- Valve seats - Critical—must be perfectly clean
- Wash with solvent and brush
- Blow dry with compressed air
- Inspect under good light
- Repeat until spotless
Step 6: Inspection
Inspect Pump Body: Look For:- Cracks - Especially around ports and mounting holes
- Corrosion - Deep pitting, not just surface oxidation
- Wear in valve seats - Should be smooth, not grooved
- Thread damage - Stripped or cross-threaded holes
- Scoring or wear marks → Replace
- Chips or cracks → Replace
- Smooth and undamaged → Can reuse (but why use old parts?)
- Cracked or chipped → Replace
- Worn valve seats → Machine or replace
- Corroded → Replace
- Rough or noisy → Replace
- Smooth and quiet → Usually fine
- Play or wiggle → Replace
Phase 3: Reassembly
Step 7: Install New Seals and O-rings
Seal Installation:- Clean seal grooves - Must be spotless
- Lubricate seals - Light coat of silicone grease
- Install in correct orientation - Some seals are directional
- Seat completely - No pinching or twisting
- Verify fit - Should sit flush in groove
Step 8: Install Valves
Valve Installation:- Identify inlet vs outlet valves - Different sizes usually
- Correct orientation - Follow kit instructions
- Press into place - Should seat firmly
- Verify all six installed - 3 inlet, 3 outlet
- Check movement - Should move freely but not loosely
Step 9: Install Plungers
Plunger Installation:- Lubricate O-rings - Silicone grease
- Correct orientation - Note end difference if any
- Slide into place - Gentle, don't force
- Verify smooth movement - Should slide freely
- Install all three - They're matched sets
Step 10: Reassemble Pump Halves
Head Installation:- Install new gasket - Correct orientation
- Align pump halves - Note orientation marks
- Start all bolts by hand - Prevent cross-threading
- Tighten in star pattern - Like lug nuts
- Torque to specification - Usually 10-15 ft-lbs
[1][2] [3][7] [6][5] [4]
Tighten in order: 1 → 4 → 2 → 6 → 3 → 5 → 7. Even compression, no warping.
Step 11: Reinstall External Components
Reinstall in Order:- Thermal relief valve - New O-rings
- Unloader valve - Rebuild or replace separately
- Inlet and outlet fittings - Thread sealant on threads
- Oil fill plug - Don't forget this step
- Use pipe thread sealant or Teflon tape
- Don't over-seal (2-3 wraps of tape max)
- Hand-tight plus 1/4 turn with wrench
- Overtightening cracks brass
Phase 4: Final Steps
Step 12: Add Pump Oil
Oil Selection:- Non-detergent 30W - Standard for most pumps
- Specific pump oil - Some manufacturers recommend their brand
- Quantity: Usually 3-5 oz (check manual)
- Remove oil fill plug
- Add oil slowly - Prevent overfilling
- Check level - Dipstick or sight glass
- Replace fill plug - Don't overtighten
Step 13: Installation and Testing
Install on Machine:- Mount to engine - Align coupler carefully
- Install mounting bolts - Tighten securely
- Connect water supply - Leak-check fittings
- Reconnect high-pressure hose - Tighten securely
- Open water supply - Flush air from system
- Start engine - Let idle 30 seconds
- Trigger gun - Brief bursts, check for leaks
- Listen carefully - Should be smooth, no grinding
- Check pressure - Use gauge if available
- Run at moderate pressure for first hour
- Avoid maximum pressure initially
- Change pump oil after first 5 hours
- Check for leaks periodically
Troubleshooting Rebuild Problems
Problem: Low Pressure After Rebuild
Causes:- Valves installed backward
- Air trapped in pump
- Worn unloader (not pump issue)
- Clogged nozzle
- Verify valve orientation - Check against old valves
- Bleed air from system - Run water through before starting
- Test unloader - Bypass should work smoothly
- Check nozzle - Clean or replace
Problem: Pump Leaks After Rebuild
Causes:- Pinched or damaged seal
- Incorrect gasket installation
- Cracked housing (missed during inspection)
- Loose bolts
- Tighten head bolts - Torque to spec
- Disassemble and check seals - One is probably damaged
- Inspect for cracks - Use magnifying glass
- Replace if housing is damaged
Problem: Pump Is Noisy
Causes:- Bearings failing (not addressed in rebuild)
- Incorrect oil level
- Air in system
- Valves not seating
- Check oil level - Add if low
- Bleed air - Run water through before starting
- Verify valve installation - All seated properly
- Replace bearings - If they're worn
Rebuild Costs and Value
DIY Rebuild Costs
Rebuild Kit: $80-150- Ceramic plungers (3)
- Valve kits (6)
- O-rings and seals
- Sometimes bearings
- Pump oil
- Thread sealant
- Cleaning solvent
- Shop rags
Professional Rebuild Costs
Labor: $150-300 (2-4 hours shop time) Parts: $80-150 (rebuild kit) Shop Supplies: $20-40 Total: $250-490Replacement Costs
Budget Pump (AR): $200-350 Mid-Range (General): $350-550 Premium (CAT): $450-800 The Math:- DIY rebuild saves $150-600 vs replacement
- Professional rebuild saves $50-300 vs replacement
- Rebuild quality pump (CAT, General) vs replace with budget pump
If you’re rebuilding a quality pump, you’re preserving better equipment than you could afford to buy new. That’s real value.
Maintenance to Extend Rebuild Interval
Daily Habits
Never Run Dry- Even 30 seconds damages seals and plungers
- Always have water flowing before starting engine
- Trigger gun briefly before shutdown to flush
- Run clean water for 2-3 minutes
- Removes chemicals and debris
- Prevents corrosion
Monthly Maintenance
Check Pump Oil- Look for milkiness (water contamination)
- Change if needed
- Use non-detergent 30W
- All fittings and connections
- Pump head gasket
- Unloader valve
Annual Maintenance
Change Pump Oil- Regardless of appearance
- Cheap maintenance, expensive repairs
- External condition
- Mounting bolts tightness
- Unloader function
The best rebuild is the one you don't have to do. Proper maintenance extends equipment life dramatically and saves you money in the long run.
When to Call a Professional
Consider Professional Help If:- You don't have the tools - Specialty tools get expensive
- You're not mechanically inclined - Mistakes are expensive
- Pump body is damaged - Some problems aren't fixable
- Time is money - Professional gets it done right, faster
- Local pressure washer dealer (best option)
- Small engine repair shop (some do pumps)
- Online mail-in rebuild service
Bottom Line
Rebuilding a pump is straightforward but requires patience, organization, and attention to detail. It’s not rocket science, but it’s not forgiving of mistakes either.
For professionals: Learn to rebuild your own pumps. It'll save you thousands over your career and you'll never be at the mercy of a repair shop's schedule. For homeowners: Consider whether the savings justifies the time and effort. If you're mechanically inclined, go for it. If not, a pro might be money well spent. Either way: A properly rebuilt pump will give you thousands more hours of reliable service. That's good ROI any way you look at it.Next Steps
Ready to rebuild your pump?
Was this article helpful?
Your feedback helps us improve our content.
Related Articles
Pressure Washer Pumps Explained: Cat, General, AR, and Comet
Complete guide to pressure washer pump brands: CAT, General, AR Annovi Reverberi, and Comet. Compare durability, rebuildability, cost, and lifespan for professional and homeowner use.
Unloader Valves: How They Work and How to Adjust Them
Complete guide to pressure washer unloader valves: how they work, adjustment procedures, troubleshooting, and when to replace. Essential knowledge for pump longevity.
Winterizing Your Pressure Washer: Pump Saver and Storage Guide
Protect your investment with proper winterization. Learn to use pump saver, prevent freeze damage, and store your pressure washer correctly for winter months.